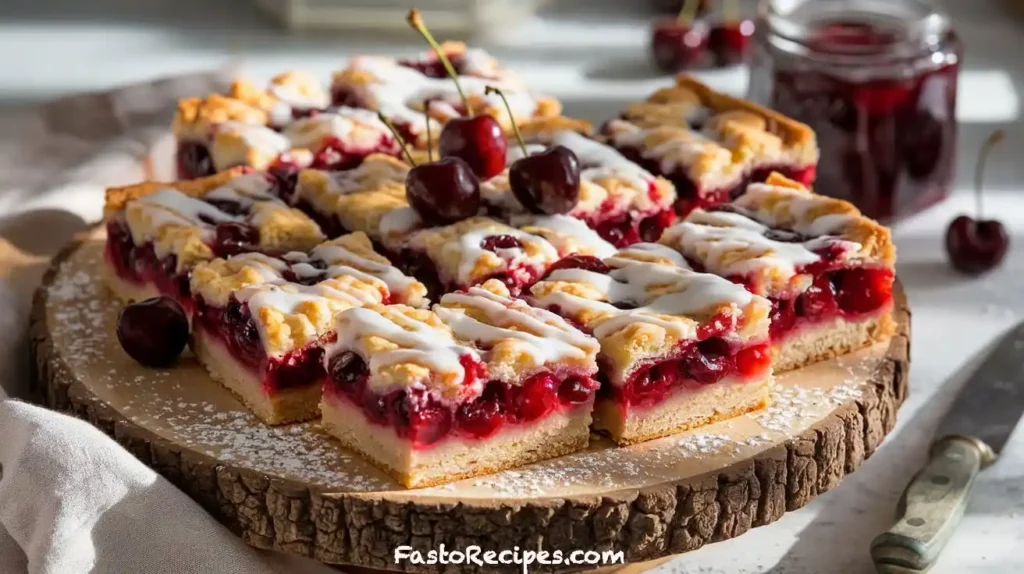
Have you ever craved the comforting flavors of a homemade cherry pie but didn’t have the time for all the effort? Cherry pie bars are your perfect solution! These bars capture everything you love about classic cherry pie — the sweet, tangy cherry filling and the buttery, golden crust — in an easy-to-make, shareable form. Whether you’re hosting a gathering, preparing a quick weeknight dessert, or just treating yourself, these cherry pie bars bring joy in every bite. Plus, they’re so versatile that you can switch up the fillings or add your own twist. Ready to bake some happiness? Let’s dive in!
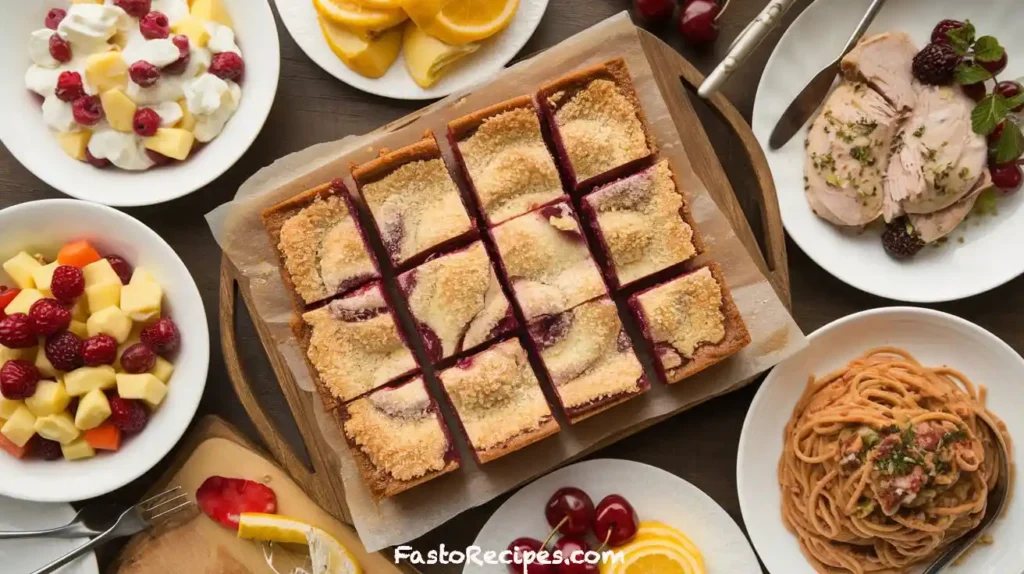
Table of Contents
Key Benefits
Cherry pie bars offer all the flavor of a traditional cherry pie with far less effort. They’re easy to make, perfect for sharing, and incredibly versatile. Whether you’re preparing them for a family gathering or a quick dessert, these bars deliver sweet, buttery goodness in every bite.
Ingredients
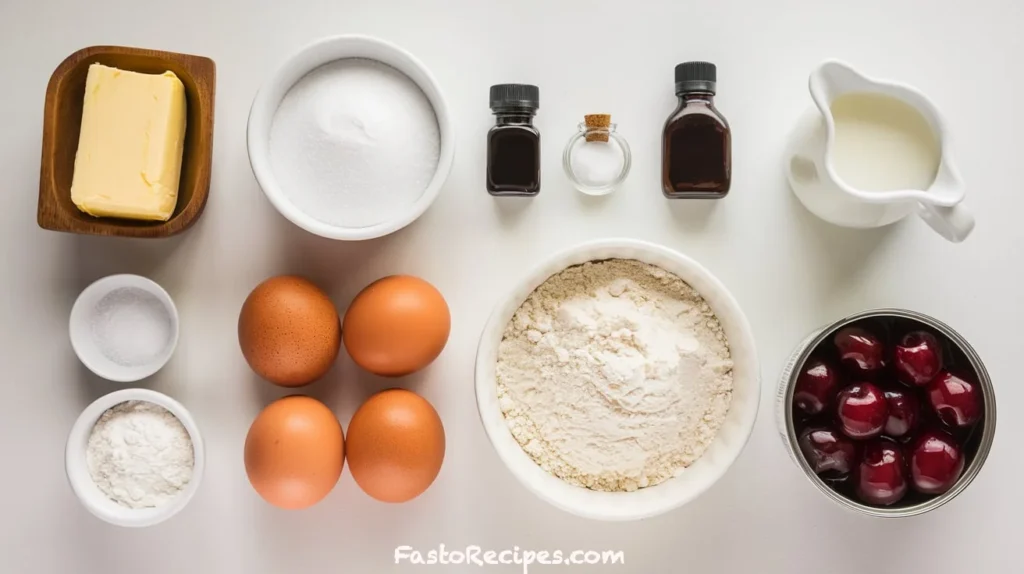
- 1 cup unsalted butter, softened
- 1 3/4 cups granulated sugar
- 4 large eggs
- 1 teaspoon vanilla extract
- 1/2 teaspoon almond extract (optional)
- 3 cups all-purpose flour
- 1/2 teaspoon salt
- 1 can (21 oz) cherry pie filling
For the Glaze:
- 1 cup powdered sugar
- 2 tablespoons milk
- 1/2 teaspoon vanilla extract
Instructions
- Preheat and Prep: Preheat your oven to 350°F (175°C) and grease a 9×13-inch baking pan.
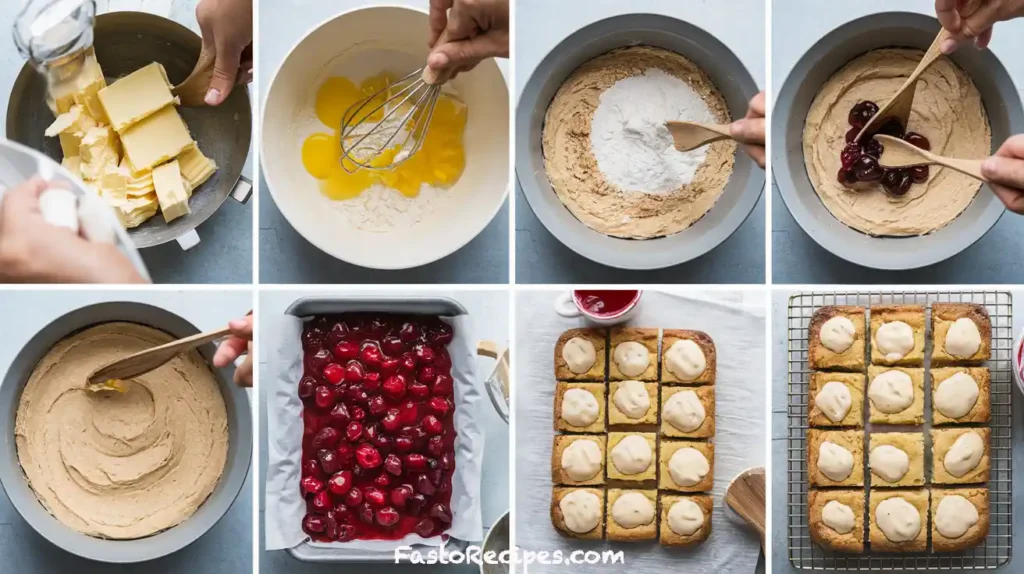
- Cream Butter and Sugar: In a large bowl, beat the softened butter and granulated sugar until light and fluffy.
- Add Eggs and Extracts: Mix in the eggs one at a time, then stir in the vanilla and almond extract.
- Combine Dry Ingredients: Gradually add the flour and salt, mixing until well combined.
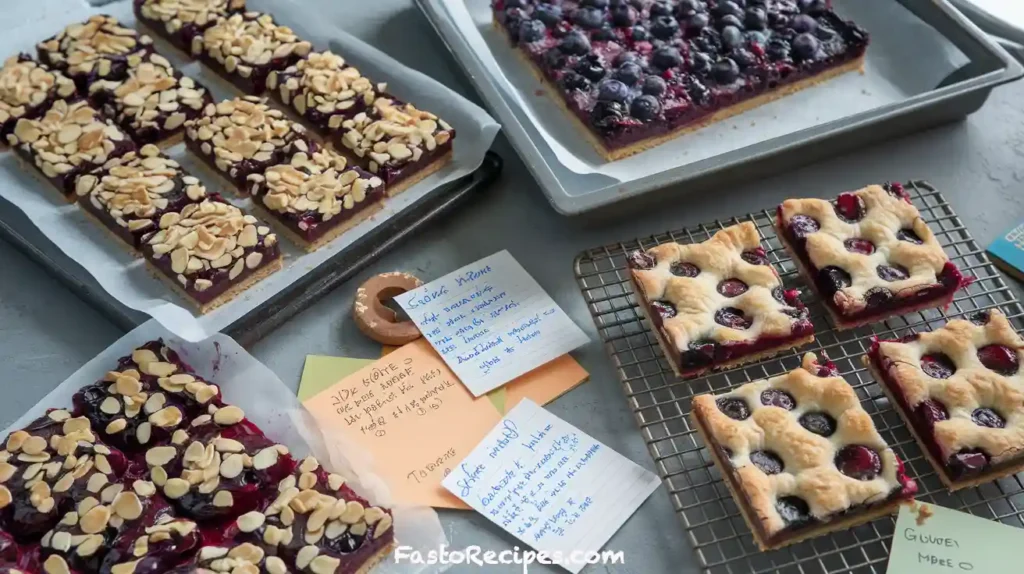
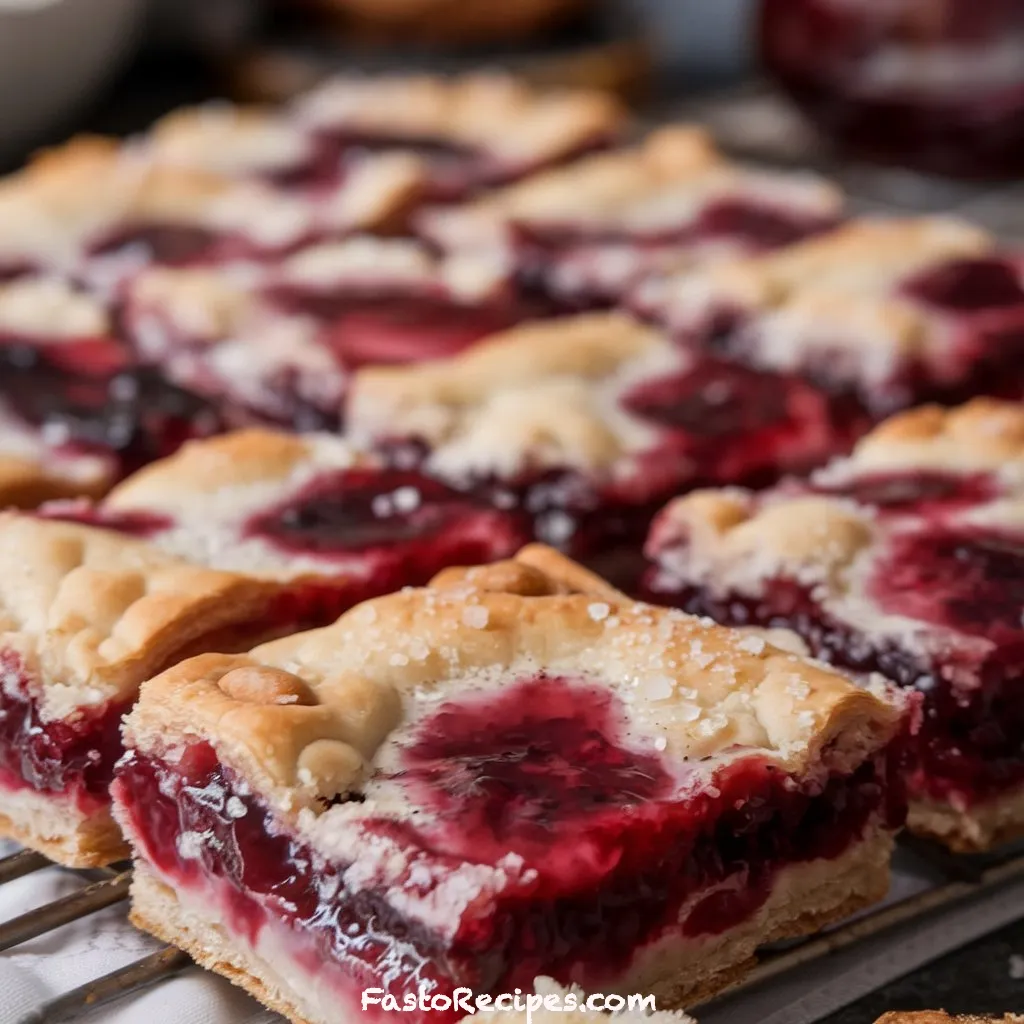
- Assemble: Spread two-thirds of the batter evenly in the prepared pan. Spoon the cherry pie filling on top and spread evenly. Drop small spoonfuls of the remaining batter over the cherries.
- Bake: Bake for 35-40 minutes, or until the top is golden brown. Allow the bars to cool completely.
- Glaze: Whisk together the powdered sugar, milk, and vanilla extract. Drizzle over the cooled bars.
- Serve: Cut into squares and enjoy!
Pro Tips and Variations
- Add a Crunch: Sprinkle slivered almonds on top before baking for extra texture.
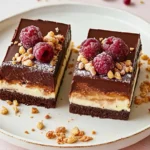
- Change the Filling: Swap cherry pie filling for blueberry, apple, or raspberry for a twist.
- Make It Gluten-Free: Use a gluten-free flour blend for a celiac-friendly version.
Serving Suggestions
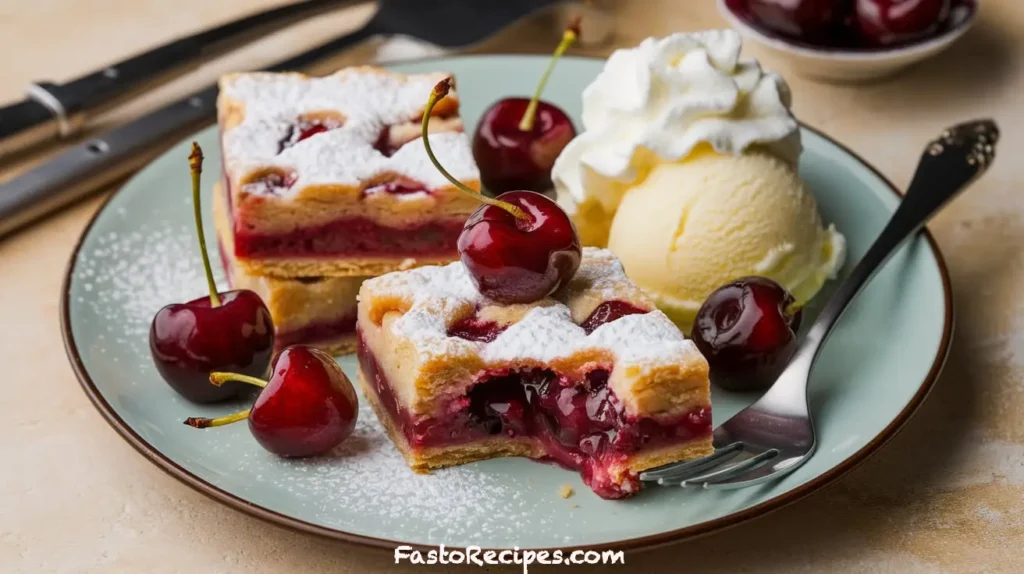
Cherry pie bars pair wonderfully with a scoop of vanilla ice cream or a dollop of whipped cream. Serve them warm for a comforting treat or chilled for a refreshing dessert.
Conclusion
Cherry pie bars are the perfect balance of buttery cake and sweet cherry filling. Easy to prepare and delightful to eat, they’re sure to become a favorite in your dessert rotation. Give this recipe a try and experience the joy of homemade goodness. If you’re looking for more delicious recipes, don’t miss this refreshing Cheesecake Fruit Salad, the crispy and flavorful Buttered Ranch Chicken, or this comforting Garlic Parmesan Beef Spaghetti Pasta. Happy cooking!
FAQs
Q: Can I use homemade cherry pie filling?
A: Absolutely! Homemade filling will add even more freshness and flavor.
Q: How should I store cherry pie bars?
A: Keep them in an airtight container at room temperature for up to three days or refrigerate for up to a week.
Q: Can I freeze cherry pie bars?
A: Yes! Wrap them tightly and freeze for up to three months. Thaw at room temperature before serving.