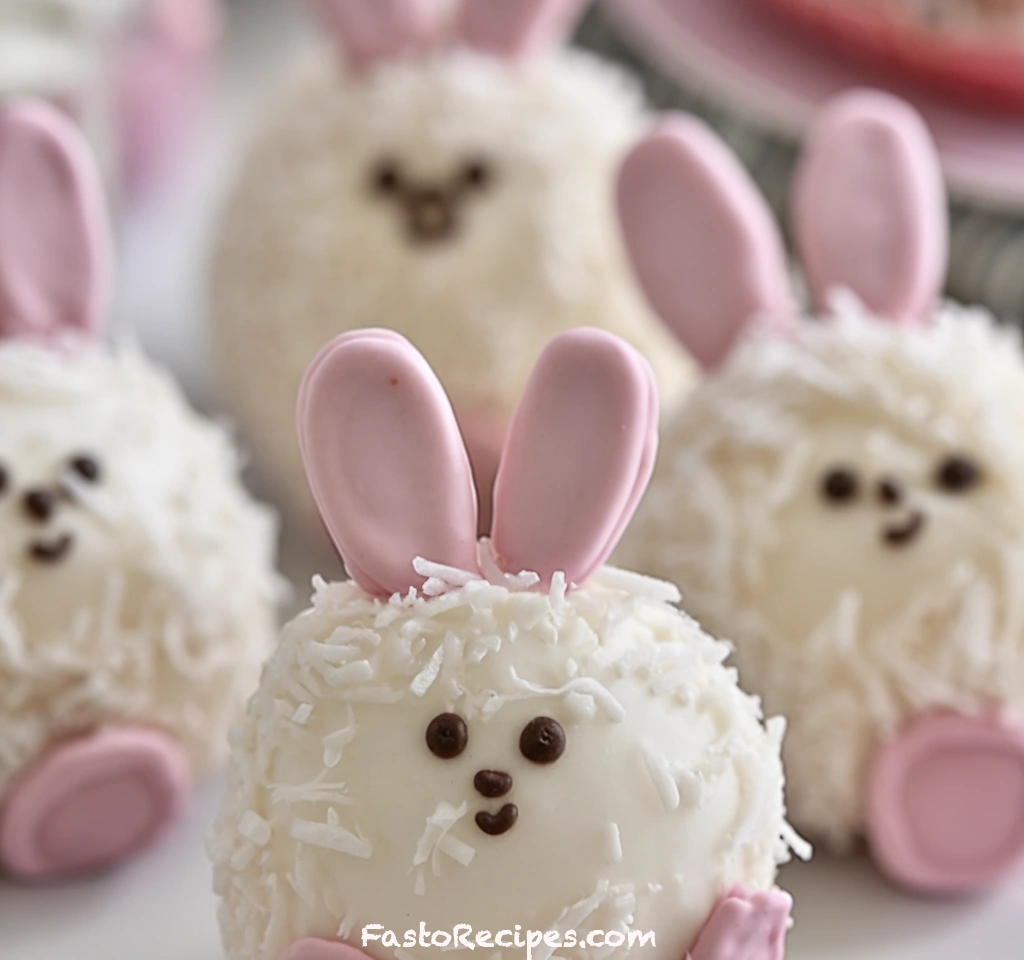
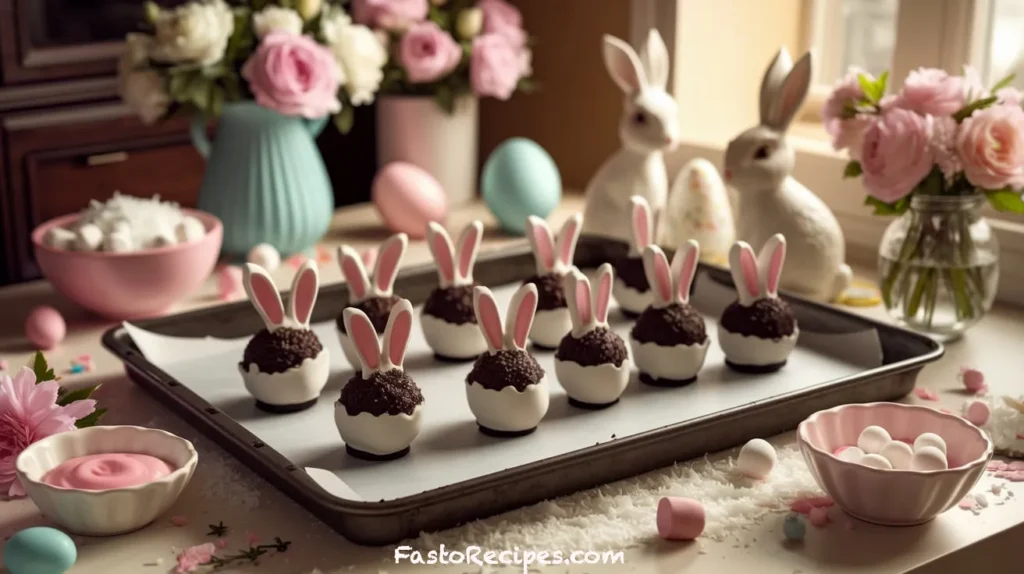
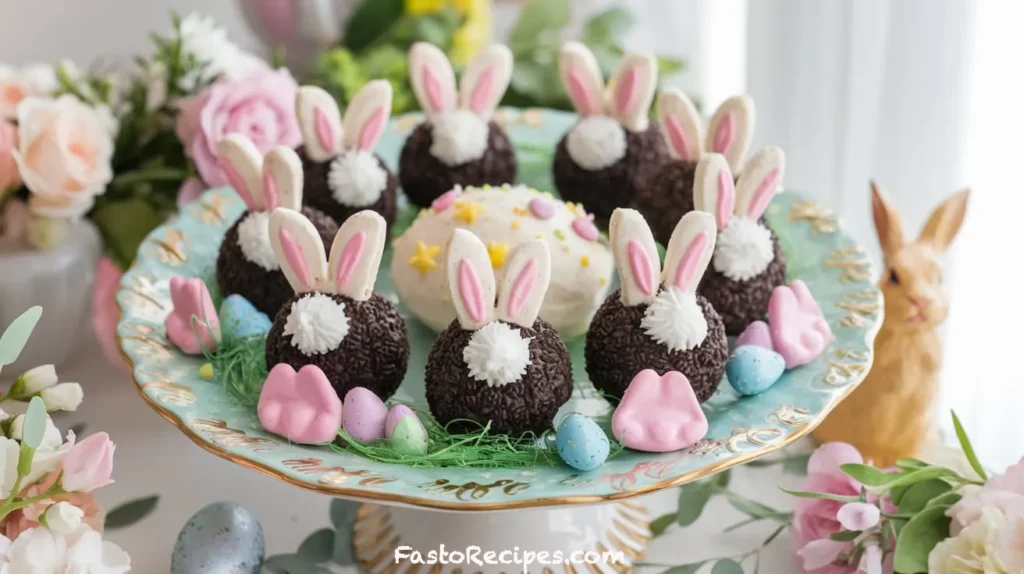
Looking for the perfect Easter dessert that’s as adorable as it is delicious? These Bunny Butt Oreo Balls are guaranteed to steal the show! With their cute bunny-themed design and irresistible flavor, they’re a hit with kids and adults alike. Plus, they’re a no-bake treat, which means they come together easily with just a few simple ingredients like Oreo cookies, cream cheese, and white chocolate.
Whether you’re planning an Easter brunch, a springtime party, or just a fun weekend activity, these festive snacks bring creativity and sweetness to the table. Ready to make a dessert that’s almost too cute to eat? Let’s hop to it! 🐰💕
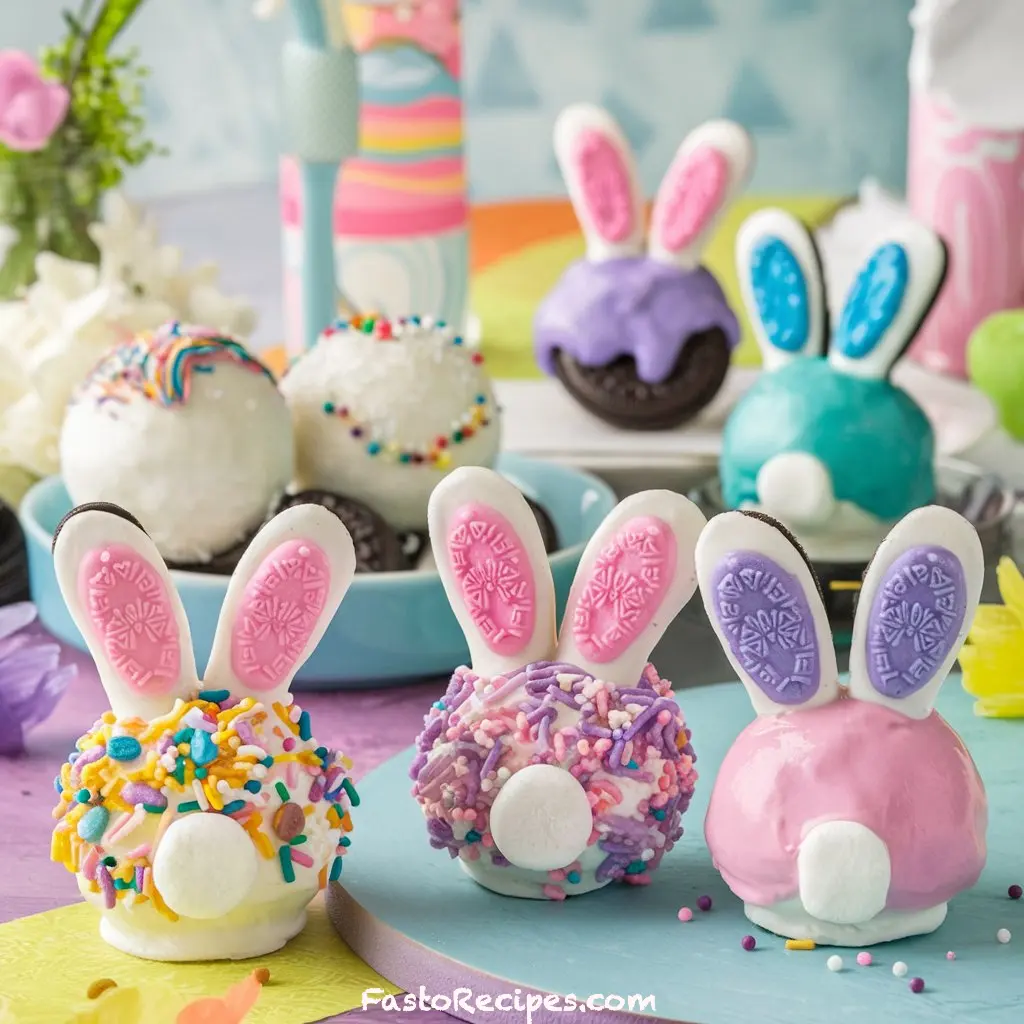
Table of Contents
Key Benefits of Bunny Butt Oreo Balls
Why will you absolutely love these adorable Bunny Butt Oreo Balls? Let’s count the ways!
- Easy and No-Bake: No need to turn on the oven — these treats come together with simple ingredients and minimal effort. Perfect for busy days!
- Kid-Friendly Fun: Get the little ones involved! Shaping and decorating these cute bunny-themed snacks is an activity kids will love.
- Crowd-Pleasing Flavor: With a creamy, chocolatey Oreo filling and a sweet white chocolate coating, every bite is pure bliss.
- Perfect for Easter and Beyond: These festive snacks make an eye-catching addition to Easter brunches, springtime parties, or even baby showers.
- Customizable: Want to switch up the flavors or decorations? It’s easy to get creative with different cookie varieties, colors, and toppings.
Whether you’re hosting a holiday gathering or just looking for a fun baking project, these Bunny Butt Oreo Balls check all the boxes — cute, delicious, and incredibly easy to make!
Ingredients for Bunny Butt Oreo Balls
Let’s gather all the ingredients you’ll need to create these irresistible Bunny Butt Oreo Balls. Don’t worry — everything is simple and easy to find, so you’ll be on your way to making the cutest treats in no time!
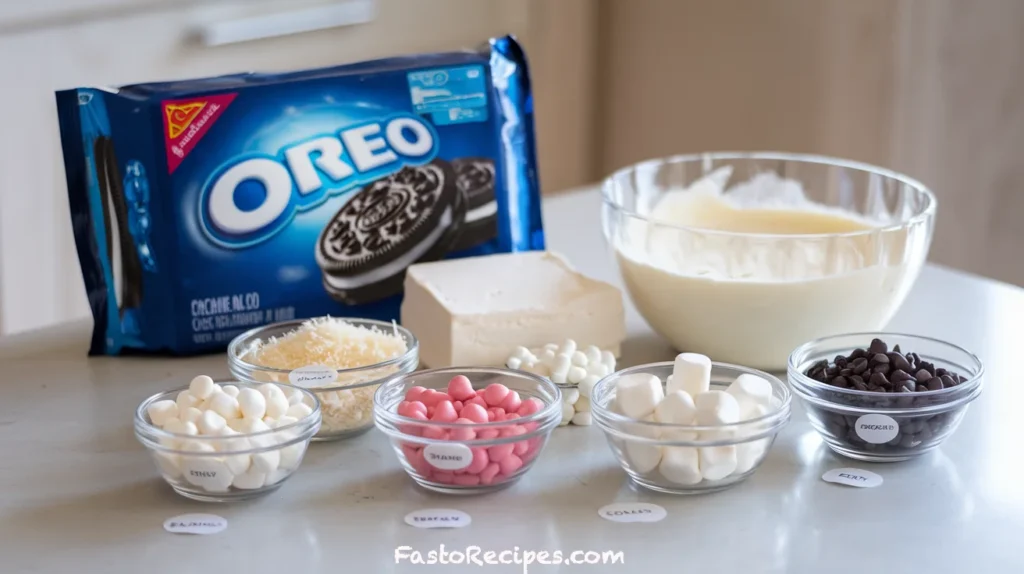
- 1 (14 oz) package of finely crushed Oreo cookies
The base of this dessert is, of course, Oreo cookies! You can use the classic variety or even try flavored Oreos for a fun twist. Be sure to crush them finely to help the mixture come together perfectly. - 8 oz cream cheese, softened
Cream cheese brings a rich, smooth texture to the filling, binding the Oreo crumbs together while adding a little tang. Make sure it’s softened for easy mixing. - 12 oz white chocolate or white candy melts, melted
The white chocolate or white candy melts create the perfect coating for these Bunny Butt Oreo Balls. Both options work great — just be sure to melt them slowly and carefully to avoid burning. - ½ cup shredded coconut (optional)
For a fluffy, textured tail, sprinkle shredded coconut over the chocolate coating. It’s an optional step, but it adds a fun, festive touch. - Mini marshmallows or candy pearls
The mini marshmallows or candy pearls make the perfect little bunny tail. These give the Oreo balls a cute, 3D effect that will have everyone “aww”-ing. - Pink candy melts or pink sprinkles
Pink candy melts are ideal for creating bunny feet details. If you don’t have them, you can use pink sprinkles to add a pop of color. - Small white chocolate chips (optional)
These white chocolate chips are optional but work beautifully to define the cute little bunny paws. You can also use more white chocolate if you prefer.
Now that you have all the ingredients ready, let’s dive into the fun part — making these treats! It’s all about combining simple ingredients to create a festive and delicious dessert. Ready? Let’s hop to the next step!
Instructions for Making Bunny Butt Oreo Balls
Now it’s time to bring your Bunny Butt Oreo Balls to life! This process is simple, fun, and quick — perfect for an afternoon of sweet creativity. Follow these easy steps to make your own batch of these adorable, delicious treats.
- Prepare Your Work Area
Start by lining a baking sheet with parchment paper. This will make it easy to transfer your Bunny Butt Oreo Balls without any mess. - Mix the Oreo and Cream Cheese
In a large mixing bowl, combine your finely crushed Oreo cookies with the softened cream cheese. Use a spatula or your hands to blend it together until the mixture is smooth and well combined. It should hold together when you press it — that’s your cue it’s ready to shape! - Shape the Oreo Balls
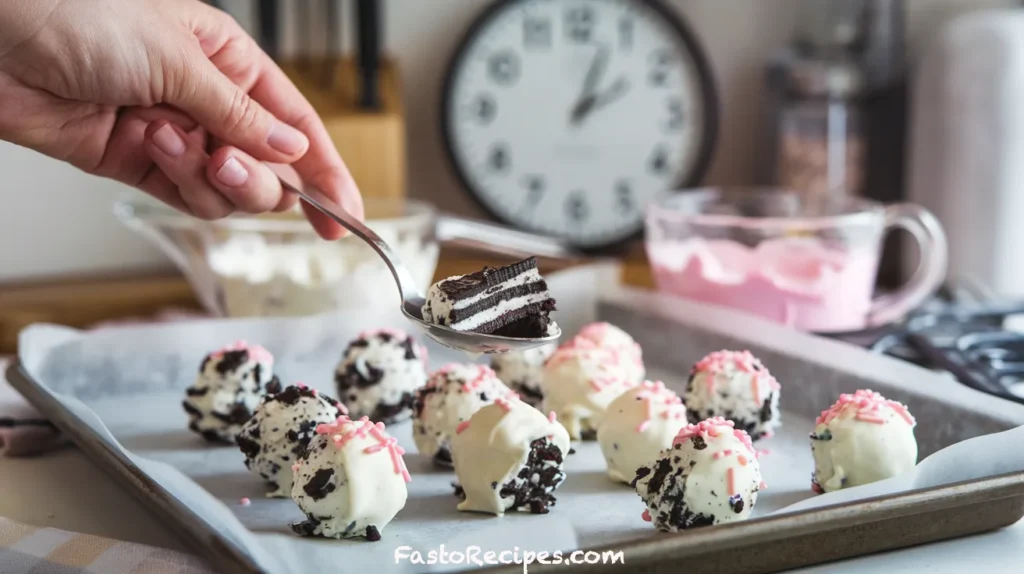
Now for the fun part! Roll the mixture into small, bite-sized balls — about 1 inch in diameter. Place them on your parchment-lined baking sheet as you go. Once you’ve shaped all the balls, pop the sheet into the freezer for 20 minutes. This will help them set and make dipping easier. - Melt the White Chocolate
While your Oreo balls are chilling, it’s time to melt the white chocolate or white candy melts. You can melt them in the microwave in short, 20-30 second bursts, stirring in between, or use a double boiler for a gentler method. Just be sure not to overheat it! - Dip the Oreo Balls
Once the Oreo balls are chilled and your white chocolate is smooth, it’s time to dip! Using a fork or a toothpick, dip each Oreo ball into the melted chocolate, making sure it’s fully coated. Gently tap the fork on the side of the bowl to remove excess chocolate, then place the coated ball back onto the parchment-lined baking sheet. - Add the Bunny Tail
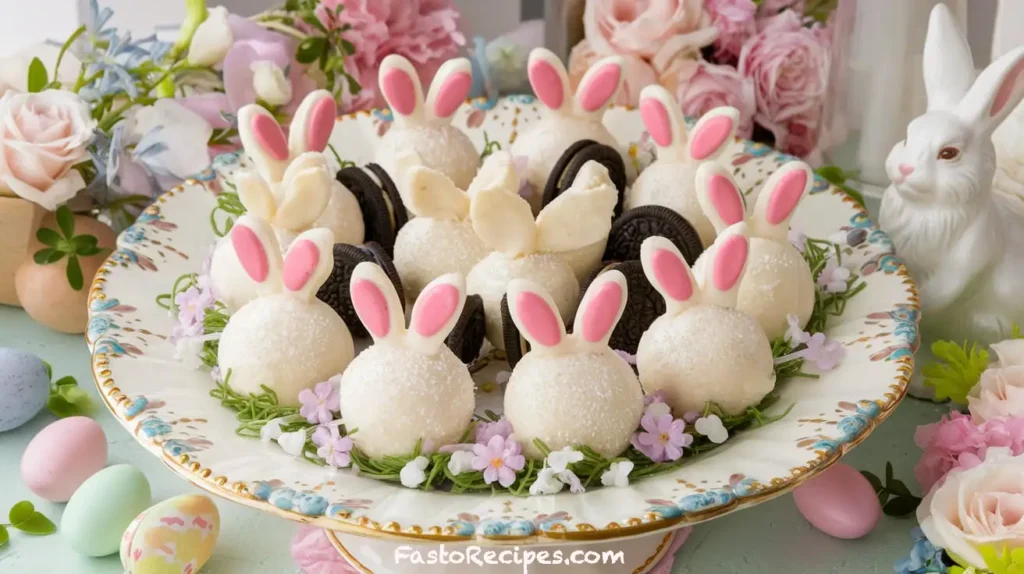
Before the white chocolate hardens, press a mini marshmallow or candy pearl into one side of each Oreo ball. This will be your adorable bunny tail! If you’re using shredded coconut, lightly sprinkle it over the ball now for that fluffy, tail effect. - Decorate the Bunny Feet
Now comes the fun part — adding the bunny feet! Use pink candy melts or pink sprinkles to create cute foot designs on the front of the Oreo balls. You can melt a little extra white chocolate to pipe on small dots for the “toes” or use white chocolate chips for an even cuter touch. - Chill and Set
Once all the decorations are in place, refrigerate the Oreo balls for about 15 minutes to let the chocolate harden. After that, they’re ready to be enjoyed!
Pro Tips and Variations for Bunny Butt Oreo Balls
Ready to take your Bunny Butt Oreo Balls to the next level? Here are a few tips and variations that will make these cute treats even more fun and customizable!
- Mix Up the Cookie Base
While Oreo cookies are classic, don’t be afraid to get creative with different flavors! You could try using mint Oreos, peanut butter-filled Oreos, or even golden Oreos for a unique twist. Each variety will bring a new flavor to the table — and add an extra element of surprise! - Make Them Bite-Sized
If you want your Oreo balls to be more of a snackable treat, consider making them a little smaller. You can reduce the size by half and adjust the freezing time accordingly. Smaller Bunny Butt Oreo Balls are perfect for a party or as a quick snack! - Add a Crunchy Coating
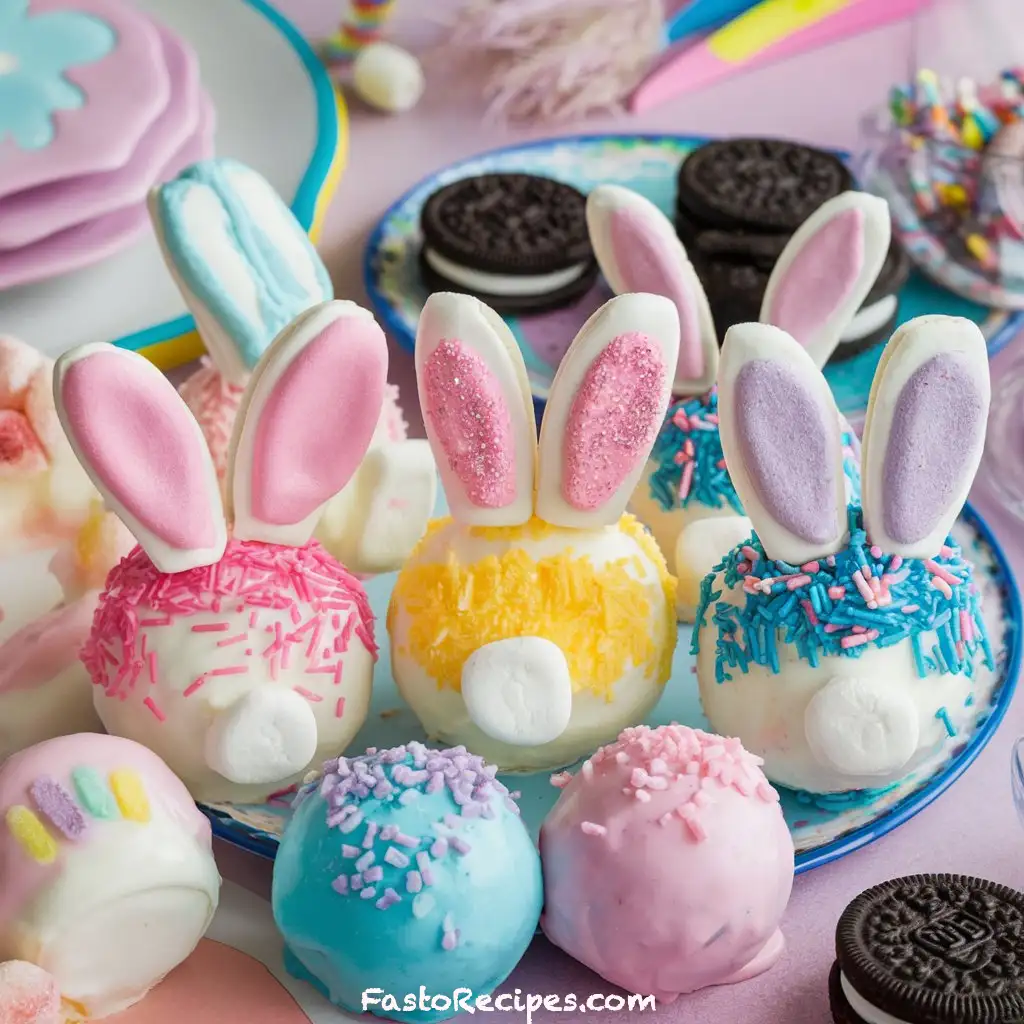
Want some texture in your Bunny Butt Oreo Balls? Roll them in crushed sprinkles, chopped nuts, or even toffee bits for a delightful crunch that contrasts with the creamy Oreo filling. The possibilities are endless! - Use Colored Candy Melts
For a fun, personalized touch, swap out the pink candy melts for any color that fits your theme or celebration. Pastels work wonderfully for springtime treats, but you could go bold with brighter colors to match a birthday or baby shower. - Drizzle for Extra Flair
After dipping your Oreo balls, you can drizzle additional melted white chocolate or colored candy melts over the top for an extra layer of decoration. It’s an easy way to make your treats even more festive and beautiful! - Experiment with Fillings
If you’re feeling adventurous, try adding some different fillings to the Oreo ball mixture. Consider mixing in mini chocolate chips, marshmallow fluff, or even a little bit of peanut butter for a richer taste and texture. - Make Them Ahead of Time
These Bunny Butt Oreo Balls store perfectly in an airtight container in the fridge. Make them a day or two ahead of time, and they’ll stay fresh, allowing you to enjoy the fun of the holiday without any last-minute prep.
Serving Suggestions for Bunny Butt Oreo Balls
Now that your Bunny Butt Oreo Balls are beautifully decorated and ready to go, it’s time to think about how to serve them. These little treats are as versatile as they are adorable, so you’ll have no shortage of ways to enjoy them! Here are some fun and creative serving suggestions to make your treat table even more festive.
- Perfect for Easter Brunch or Spring Parties
These Bunny Butt Oreo Balls are a showstopper for any Easter celebration. Serve them as part of a dessert table or as a fun snack to keep guests smiling. They’re also a great addition to springtime parties or even a baby shower with their cute and colorful presentation. - Pair with Other Easter Sweets
These Oreo balls are just one piece of the puzzle when it comes to a sweet Easter spread. Pair them with other Easter desserts like sugar cookies, carrot cake cupcakes, or a chocolate bunny for a full-fledged dessert table. The different textures and flavors will complement each other perfectly. - Individually Wrapped for Gift Giving
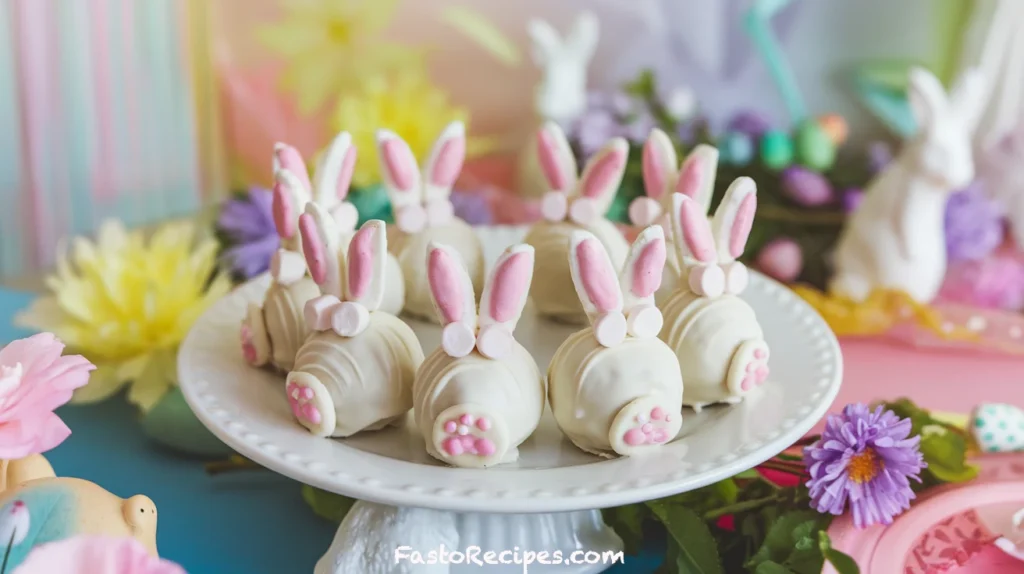
Want to spread some Easter joy? Wrap each Bunny Butt Oreo Ball in clear treat bags, tie them with a festive ribbon, and give them away as charming, edible gifts. They make great little thank-you gifts for teachers, neighbors, or friends. - Serve on a Decorative Platter
A fun way to showcase your Bunny Butt Oreo Balls is by serving them on a decorative platter or cake stand. You could even arrange them in a bunny shape or create a cute Easter-themed centerpiece for your table. Presentation can elevate the experience and make your treats even more eye-catching. - Add a Fun Dessert Bar
Turn serving Bunny Butt Oreo Balls into an interactive experience with a DIY dessert bar. Set up a station with extra sprinkles, chocolate drizzle, and other fun toppings, and let your guests decorate their own Oreo balls. This is especially fun for kids, and it gives everyone a chance to personalize their treats! - Perfect with a Hot Beverage
Serve these sweet treats with a hot beverage like coffee, hot chocolate, or even a springtime iced tea. The creamy, chocolatey flavor of the Oreo balls pairs beautifully with a warm drink, making it a cozy treat for any occasion.
Conclusion
And there you have it — Bunny Butt Oreo Balls that are as fun to make as they are to eat! These sweet, festive snacks are perfect for any occasion, from Easter celebrations to family gatherings, or just a fun weekend project with the kids. With their adorable bunny design and irresistible Oreo and cream cheese filling, these treats are sure to bring smiles to everyone who tries them.
The best part? They’re incredibly easy to make, and with a little creativity, you can customize them in so many ways. Whether you’re adding a sprinkle of shredded coconut for the tail or getting creative with different cookie flavors, these Oreo balls will be a guaranteed hit every time.
So, what are you waiting for? Get in the kitchen and start creating your own batch of these delightful Bunny Butt Oreo Balls — because who can resist a cute treat that’s also delicious? Happy baking, and don’t forget to share these with your loved ones for a little extra joy this season! 🐰💖
If you’re a fan of easy, show-stopping desserts like these Oreo Balls, you might also want to check out this Cinnamon Roll Poke Cake. It’s another delicious and simple recipe that’s perfect for any occasion! Simply follow the link for an irresistible treat that’s sure to be a crowd favorite.

FAQs
Can I make Bunny Butt Oreo Balls ahead of time?
Absolutely! These Oreo balls store wonderfully in the fridge. In fact, making them a day or two ahead of time can help the flavors meld together even better. Just store them in an airtight container to keep them fresh, and they’ll be good to go for up to a week.
Can I use a different type of cookie instead of Oreos?
Yes, you can! While Oreo cookies give these treats a classic flavor, you can swap them out with other cookies like Golden Oreos, mint Oreos, or even chocolate chip cookies for a fun twist. Each variation will add a unique taste to your Bunny Butt Oreo Balls.
Can I make these without cream cheese?
If you’re looking for a dairy-free option, you can replace the cream cheese with vegan cream cheese or use sweetened condensed milk as a substitute. Just make sure you adjust the consistency accordingly.
What can I use if I don’t have mini marshmallows for the bunny tail?
If you don’t have mini marshmallows, you can also use candy pearls, white chocolate chips, or even a small piece of white chocolate bark. Just make sure whatever you use is soft enough to gently press into the chocolate coating.
How can I get the chocolate coating smooth?
To get a smooth, glossy chocolate coating, make sure the Oreo balls are well-chilled before dipping. If the chocolate starts to harden before you’re finished dipping, reheat it in short intervals in the microwave to keep it liquid. A gentle tap on the side of the bowl will help remove any excess chocolate, leaving a perfect, even coat.
Can I freeze these Oreo balls?
Yes! These Bunny Butt Oreo Balls can be frozen for up to 3 months. Just place them in an airtight container or freezer-safe bag, and when you’re ready to enjoy them, let them thaw at room temperature for about 15-20 minutes.
Can I make Bunny Butt Oreo Balls without the pink decoration?
Of course! If you want a simpler version, you can skip the pink bunny feet decoration. The white chocolate coating and marshmallow tail will still give them a cute and fun look. You could also experiment with different colored melts for the feet if you’re making them for a different holiday or celebration!

Bunny Butt Oreo Balls
- Total Time: 25 minutes
- Yield: 20 1x
Description
Make adorable Bunny Butt Oreo Balls with this easy, no-bake recipe! Perfect for Easter or any festive occasion, these treats are sure to delight!
Ingredients
- 1 14 oz package of finely crushed Oreo cookies
- 8 oz cream cheese (softened)
- 12 oz white chocolate or white candy melts (melted)
- ½ cup shredded coconut (optional for a fluffy tail effect)
- Mini marshmallows or candy pearls (for the bunny tail)
- Pink candy melts or pink sprinkles (for bunny feet details)
- Small white chocolate chips (for foot decoration, optional)
Instructions
- Prepare the Oreo Ball Mixture: Line a baking sheet with parchment paper. In a mixing bowl, combine the finely crushed Oreo cookies and softened cream cheese. Mix until fully blended.
- Shape the Balls: Use a spoon or small ice cream scoop to shape the Oreo mixture into small balls. Place them on the prepared baking sheet. Freeze for 20 minutes to firm up.
- Melt the Chocolate: Melt the white chocolate or candy melts in a microwave-safe bowl or double boiler. Stir occasionally until smooth.
- Dip the Oreo Balls: Carefully dip each Oreo ball into the melted chocolate, ensuring it’s fully coated. Place the coated Oreo balls back onto the baking sheet.
- Add the Bunny Tail: Before the chocolate hardens, gently press a mini marshmallow or candy pearl onto one side of each ball to form the bunny tail.
- Create the Bunny Feet: Melt the pink candy melts and pipe or drizzle them onto the Oreo balls to form the bunny feet. Optionally, use small white chocolate chips for added detail.
- Chill and Set: Allow the Bunny Butt Oreo Balls to set at room temperature or place them in the refrigerator for 15 minutes until the chocolate hardens.
- Serve and Enjoy: Serve immediately, or store in an airtight container in the fridge for up to a week. Enjoy these adorable and tasty treats!
Notes
Nutrition Information (per serving, 1 Oreo Ball)
- Calories: 160
- Total Fat: 9g
- Saturated Fat: 5g
- Trans Fat: 0g
- Cholesterol: 15mg
- Sodium: 50mg
- Carbohydrates: 21g
- Fiber: 1g
- Sugar: 19g
- Protein: 1g
- Prep Time: 25 minutes
- Category: Dessert
- Cuisine: American
Nutrition
- Calories: 160
Keywords: Bunny Butt Oreo Balls, Easter treats, fun desserts


2 thoughts on “Bunny Butt Oreo Balls: Easy, Fun, and Perfect for Easter!”