
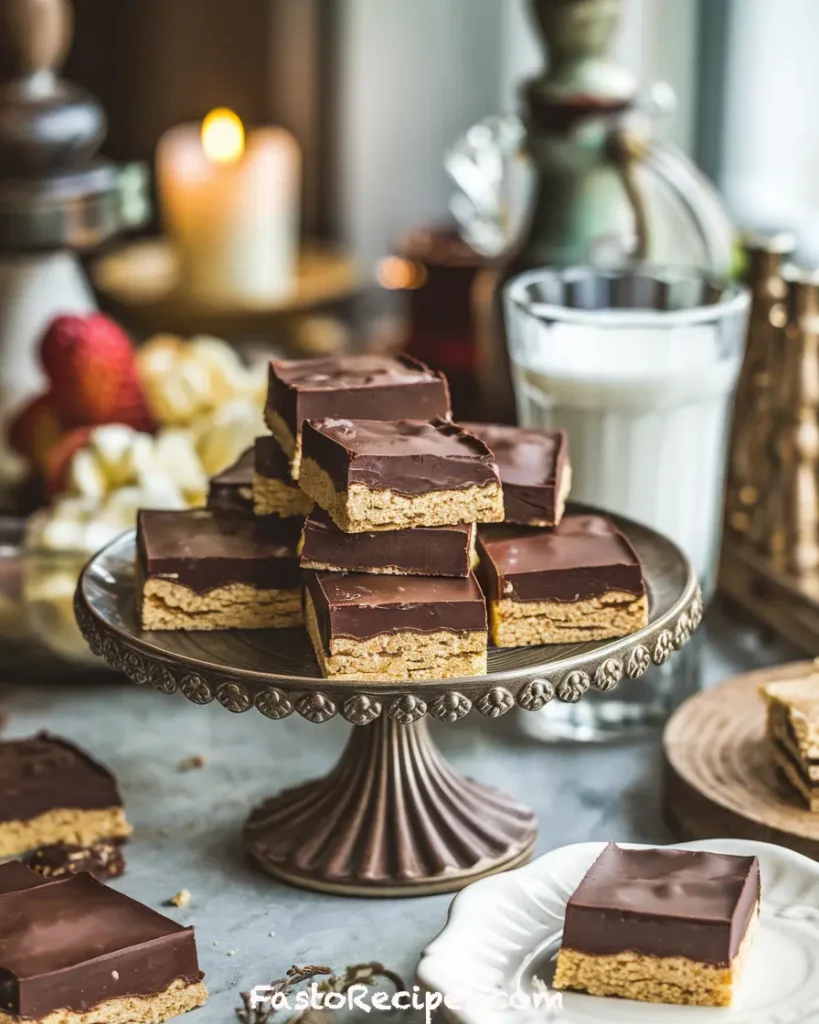
Who doesn’t love the rich, nostalgic taste of Mounds Bars? If you’re a chocolate lover with a soft spot for coconut, this homemade version is about to become your new favorite treat! With just a few simple ingredients, you can recreate the irresistible combination of sweet, chewy coconut wrapped in a smooth chocolate coating—right in your own kitchen.
Whether you’re craving a quick dessert, looking for a fun baking project, or need a shareable sweet for a party, these bars are the perfect choice. Plus, they’re easy to customize with flavor variations, making them ideal for anyone who loves experimenting with homemade treats. Ready to indulge in a bite of chocolate-covered bliss? Let’s dive in!
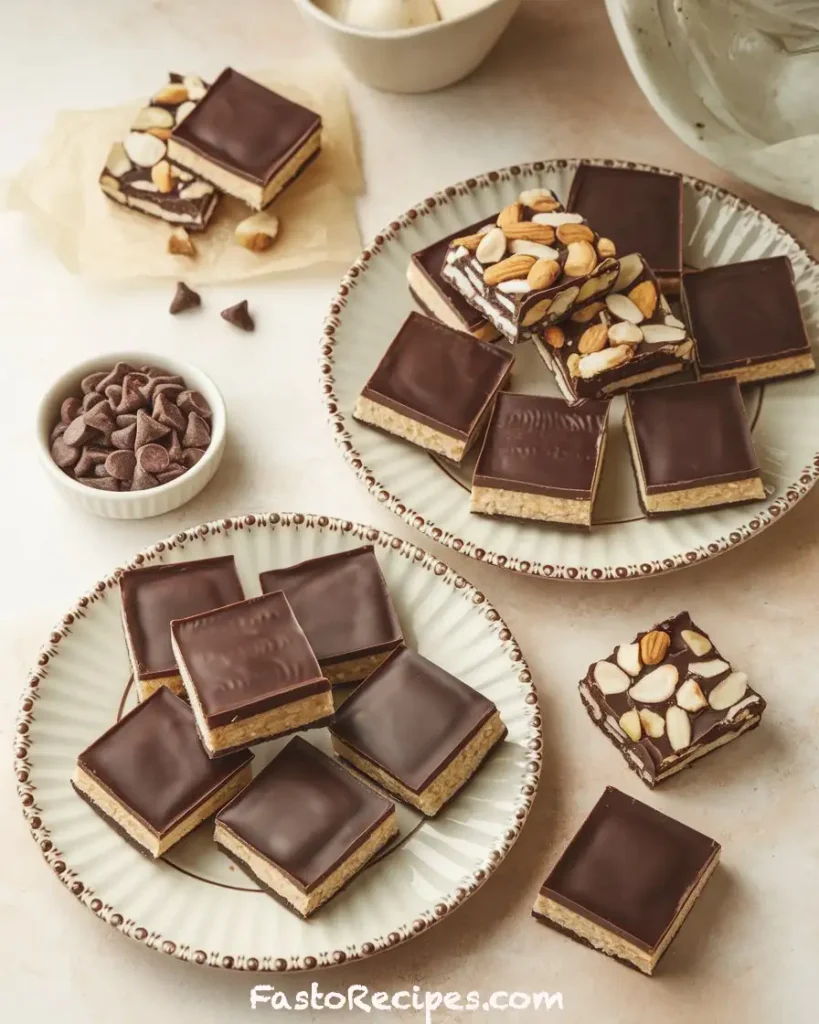
Table of Contents
Key Benefits of Homemade Mounds Bars
Why make Mounds Bars at home when you can buy them at the store? Simple—homemade is always better! Here’s why you’ll love this easy, indulgent treat:
✅ Rich, Authentic Flavor – Experience the perfect balance of sweet coconut and velvety chocolate, just like the classic candy bar—but even fresher!
✅ Simple, Minimal Ingredients – With only a handful of pantry staples, you can whip up these bars in no time—no complicated steps or fancy equipment needed.
✅ Customizable to Your Taste – Prefer dark chocolate over semi-sweet? Want to add an almond for an Almond Joy twist? You’re in control of every bite!
✅ Perfect for Any Occasion – Whether you’re craving a quick dessert, making a sweet gift, or prepping for a holiday platter, these bars fit the bill.
✅ Diet-Friendly Options – Easily adapt the recipe for keto, dairy-free, or gluten-free diets with simple ingredient swaps.
There’s nothing quite like the joy of creating your own homemade sweets. Let’s dive into the ingredients and start making these delicious Mounds Bars!
Ingredients for Mounds Bars
Before we dive into the fun part—making these delicious bars—let’s gather the ingredients! Luckily, you don’t need a lot, and most of them are likely already in your pantry. Here’s what you’ll need:

- 1 cup shredded coconut – Make sure to use unsweetened shredded coconut for the perfect balance of sweetness. If you prefer a finer texture, you can pulse it in a food processor!
- 1 cup sweetened condensed milk – This is the magic ingredient that holds everything together and adds richness to the coconut filling.
- 1 cup chocolate chips – Semi-sweet chocolate is classic, but feel free to swap with dark or milk chocolate depending on your preference.
- Optional: 1 tsp vanilla extract – A dash of vanilla enhances the flavor of the coconut and chocolate. You can also experiment with other extracts like almond for a unique twist!
Pro Tip: If you want a dairy-free or vegan version, simply swap the sweetened condensed milk with a coconut or almond milk alternative, and choose dairy-free chocolate chips.
Once you have everything on hand, you’re just a few steps away from creating these sweet treats. Let’s move on to the fun part—making them!
Instructions for Making Mounds Bars
Now that you’ve gathered your ingredients, let’s get to the fun part—making your very own Mounds Bars! Follow these simple steps, and you’ll be indulging in homemade coconut-chocolate goodness in no time.

- Preheat the Oven – Set your oven to 350°F (175°C). A hot oven ensures the coconut mixture bakes evenly and turns that beautiful golden brown.
- Mix the Coconut and Condensed Milk – In a mixing bowl, combine the shredded coconut and sweetened condensed milk. Stir them together until fully incorporated. The mixture should be sticky but hold its shape when pressed.
- Press the Mixture into a Baking Dish – Grease a small baking dish or line it with parchment paper for easy removal later. Press the coconut mixture into the dish evenly, creating a solid base for your bars.
- Bake the Coconut Layer – Place the dish in the oven and bake for 20-25 minutes. Keep an eye on it—you want the top to turn a light golden brown. This step brings out the natural flavor of the coconut and gives it a slightly crispy texture on top.
- Melt the Chocolate – While the coconut layer bakes, melt the chocolate chips. You can do this either in a double boiler or in the microwave. If using the microwave, heat the chocolate in 30-second intervals, stirring in between, until smooth and melted.
- Top with Melted Chocolate – Once the coconut layer has baked and cooled slightly, pour the melted chocolate over the top. Use a spatula to spread it evenly for a smooth finish.
- Cool and Set – Allow the bars to cool completely at room temperature. For a quicker set, place them in the fridge for about 30 minutes. The chocolate will firm up, and the coconut layer will become wonderfully chewy.
Pro Tip: For an extra crunch, you can top the chocolate layer with chopped nuts or drizzle some white chocolate over the top for a beautiful contrast.
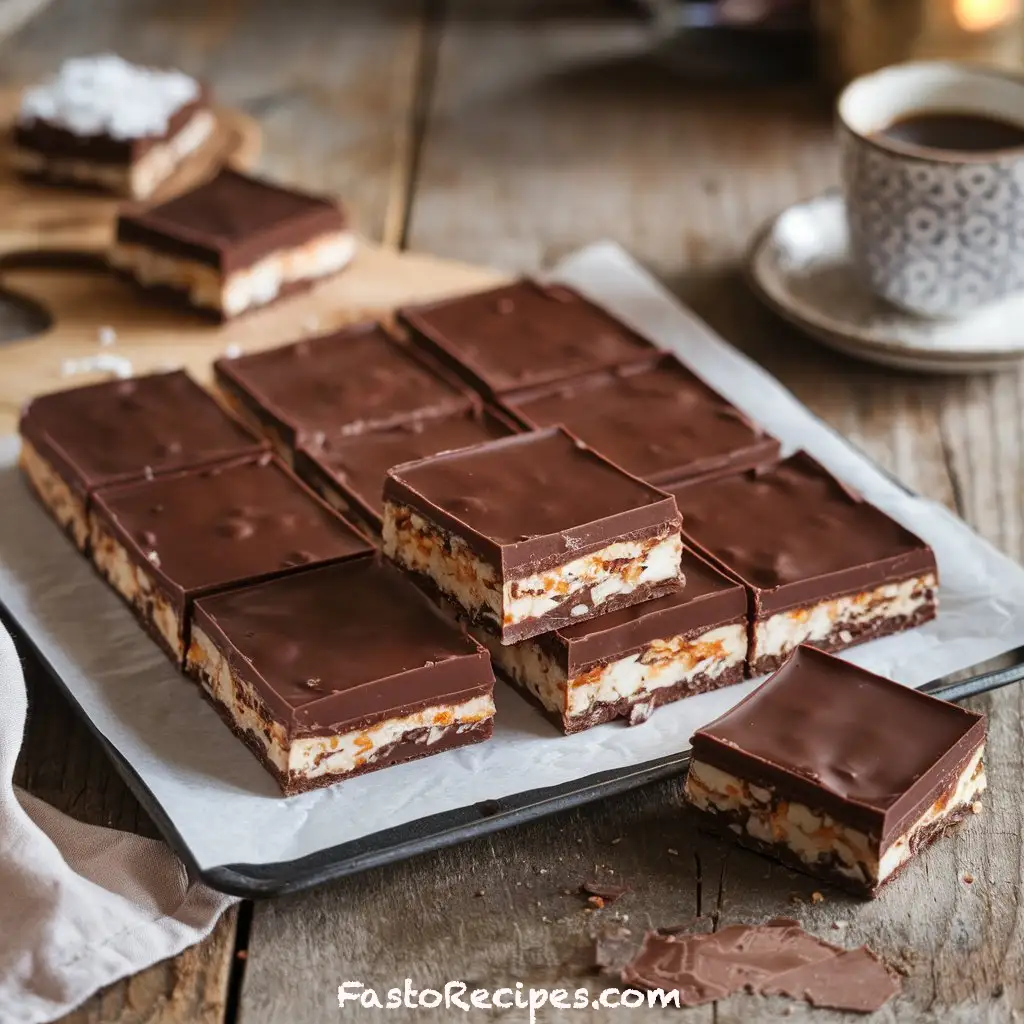
Once everything has cooled and set, your Mounds Bars are ready to cut into squares or bars. Enjoy the sweet satisfaction of homemade chocolate-coconut bliss!
Pro Tips and Variations for Mounds Bars
Now that you’ve made these irresistible Mounds Bars, let’s talk about ways you can elevate the recipe and customize it to your liking. Whether you’re looking to adjust the flavor, texture, or dietary preferences, there’s no limit to how you can make these bars your own. Here are some pro tips and variations to try:
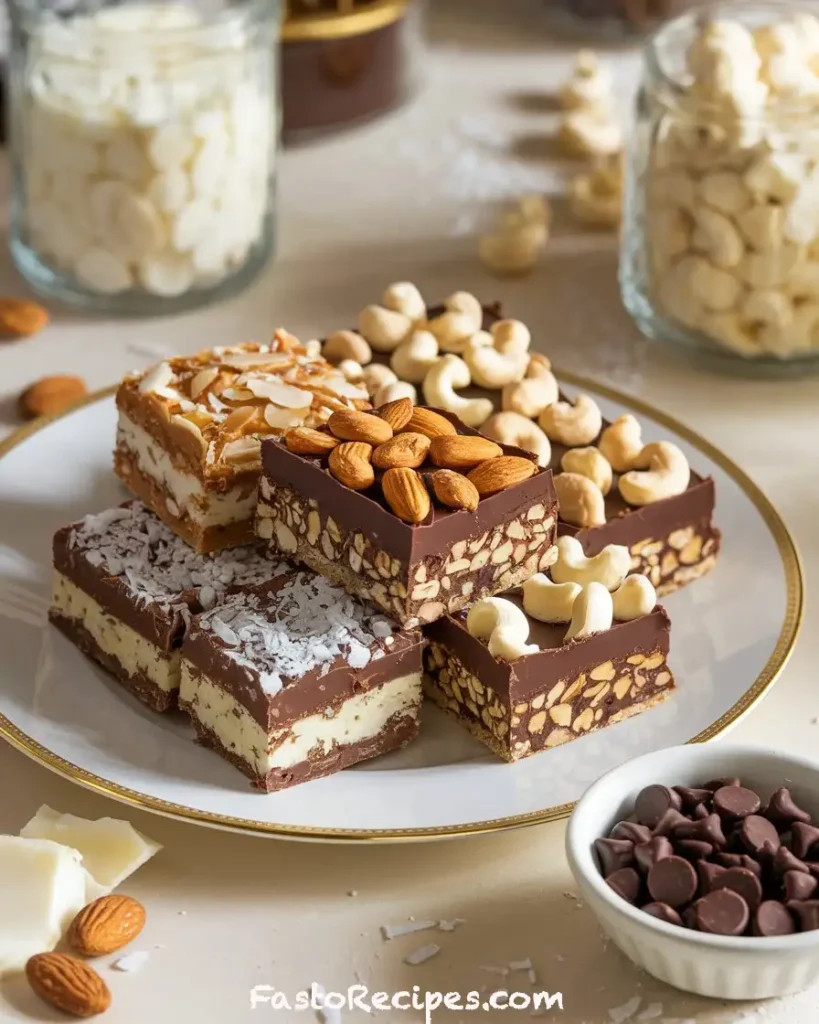
1. Get Creative with Chocolate
- Dark Chocolate: If you’re a fan of rich, bold flavors, dark chocolate is a great option. It balances the sweetness of the coconut beautifully.
- Milk Chocolate: Prefer something a little sweeter? Swap in milk chocolate for a more classic candy bar experience.
- White Chocolate: For a completely different twist, try topping your coconut layer with creamy white chocolate. It’s a visually stunning and delicious variation!
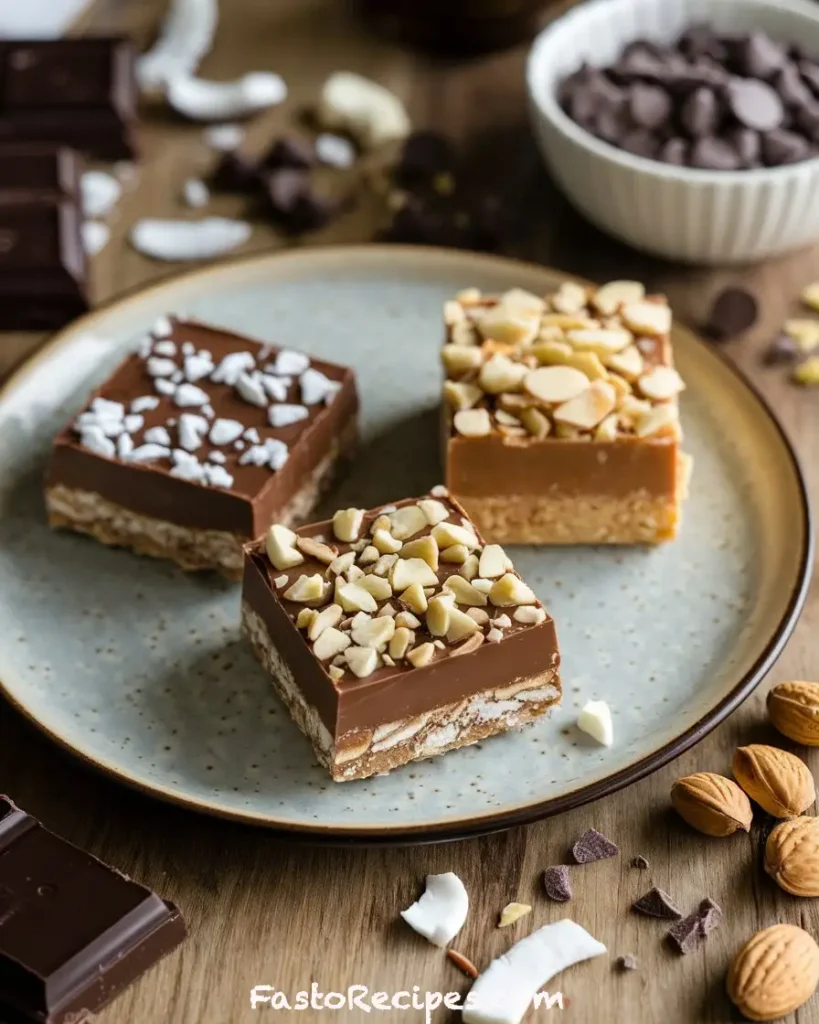
2. Add Texture with Nuts
- Almonds: Add a bit of crunch by topping the chocolate layer with sliced almonds, just like in Almond Joy bars.
- Cashews or Pecans: For a slightly different texture and flavor, try using chopped cashews or pecans. They pair wonderfully with coconut and chocolate.
3. Go for a Healthier Option
- Sugar-Free: Want a sugar-free version? Simply swap the sweetened condensed milk with a sugar-free condensed milk alternative. You can also use sugar-free chocolate chips to lower the sugar content.
- Keto-Friendly: If you’re following a keto diet, use unsweetened coconut, sugar-free condensed milk, and low-carb chocolate chips. These bars will still satisfy your sweet cravings without the carbs!
4. Make It Vegan
- Swap the sweetened condensed milk with coconut condensed milk to make the recipe vegan-friendly. Be sure to choose dairy-free chocolate chips for a completely plant-based treat.
5. Add a Fun Flavor Twist
- Vanilla Extract: A teaspoon of vanilla extract mixed into the coconut filling can add a lovely depth of flavor.
- Almond Extract: For a nutty touch, almond extract pairs beautifully with the coconut and chocolate, creating a slightly different profile.
6. Perfect the Texture
- Fine Coconut Shreds: If you like a smoother texture, you can pulse the shredded coconut in a food processor for a finer, more uniform texture. This gives the bars a smoother, more refined finish.
- Chunkier Coconut: For more bite and texture, leave the coconut shredded a bit more coarsely. This will give each bite a satisfying chew.
By experimenting with these variations, you can tailor the Mounds Bars to your exact taste. Whether you’re making them for a special occasion or just to satisfy a craving, these tips and tricks will help you create a personalized treat that everyone will love!
Serving Suggestions for Mounds Bars
Once your Mounds Bars are set and ready to go, it’s time to think about how you’ll serve them up. These sweet, chewy treats are perfect for any occasion, and a little creativity in presentation can make them even more special. Here are a few serving suggestions to make your Mounds Bars even more irresistible:
1. Perfect for Parties
- Dessert Platter: Arrange your Mounds Bars on a beautiful platter with other bite-sized treats like brownies, cookies, and fudge. The rich coconut and chocolate make them an excellent addition to any dessert spread.
- Gift-Worthy: Package them up in a decorative box or clear gift bag tied with a ribbon for a thoughtful homemade gift. Who wouldn’t appreciate a batch of these sweet treats?
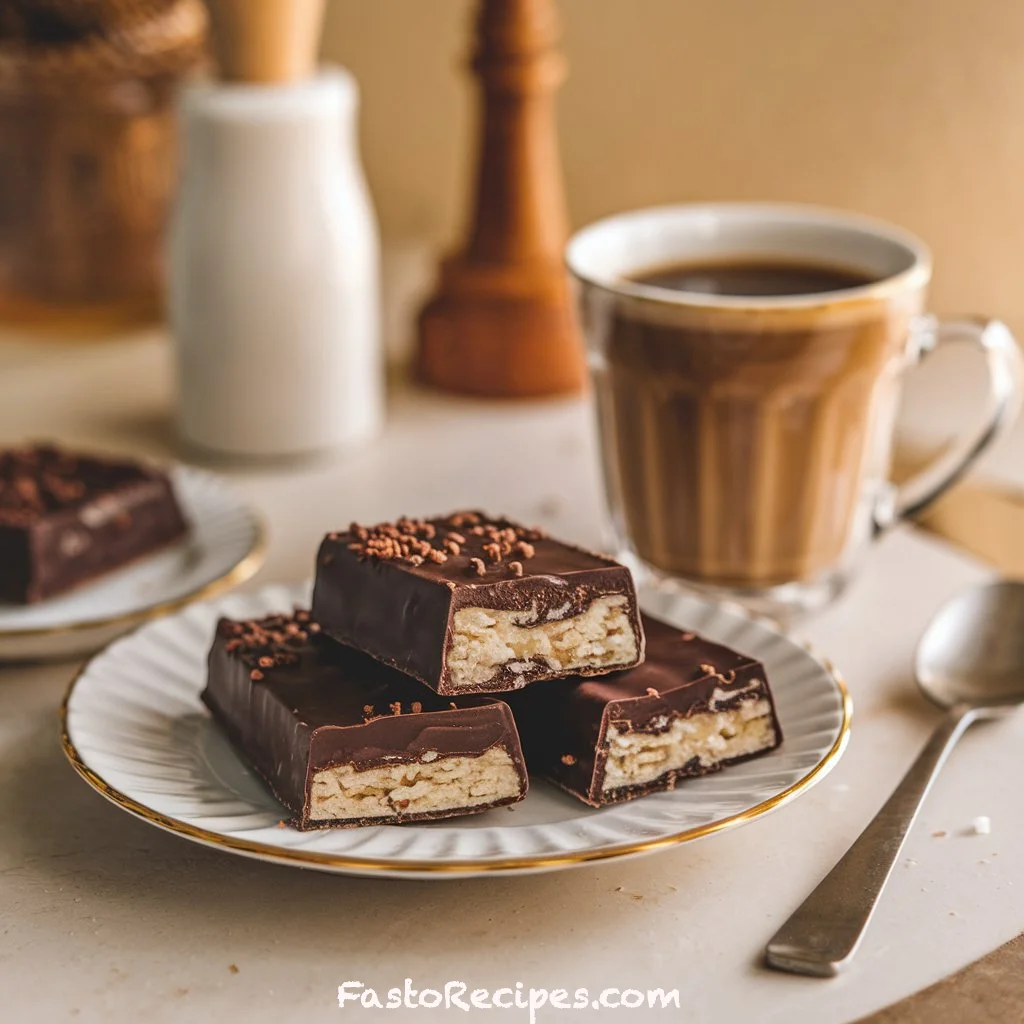
2. Pair with a Drink
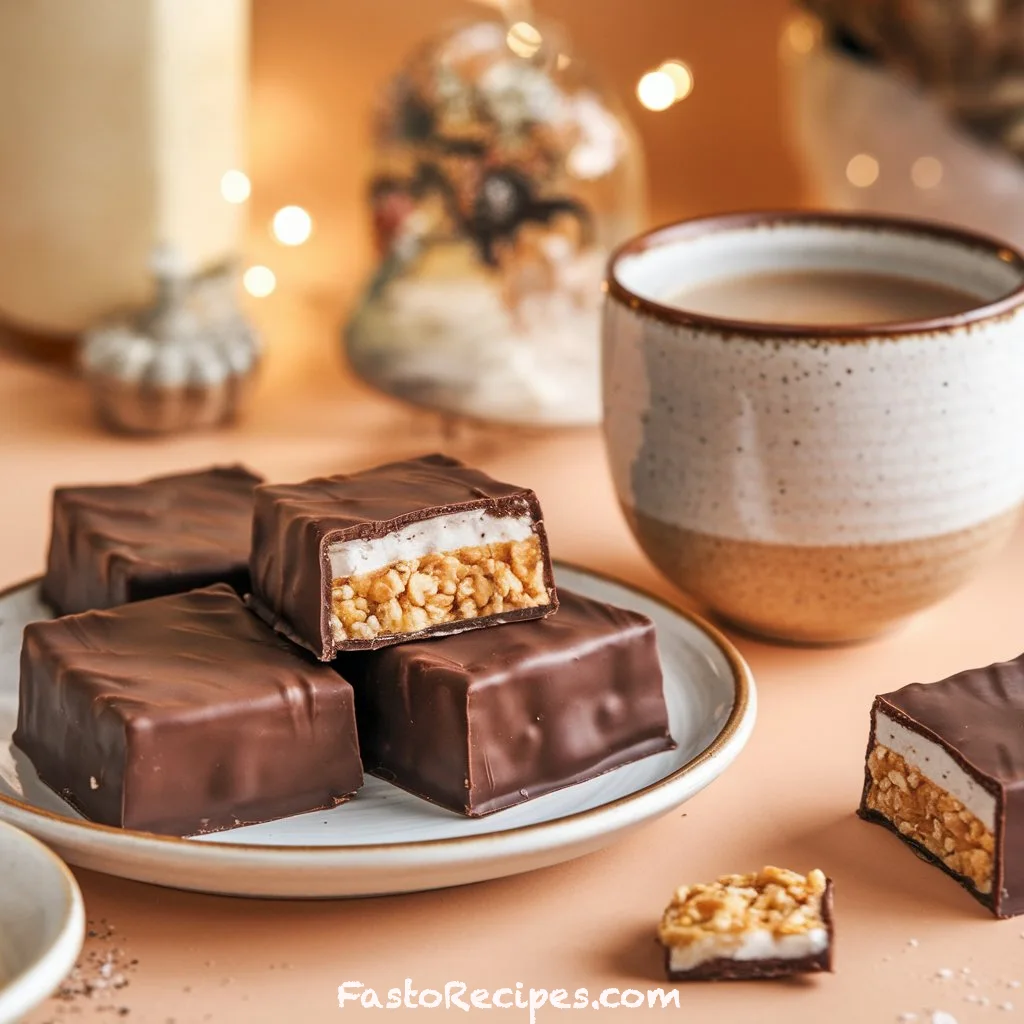
- Coffee or Hot Chocolate: Mounds Bars and coffee are a match made in heaven. The bold, rich flavor of coffee complements the sweetness of the bars, making for a cozy treat.
- Milk or Nut Milk: For a classic pairing, enjoy these bars with a cold glass of milk—dairy or plant-based. The creamy texture of milk balances the chocolate and coconut perfectly.
3. Top with Ice Cream
- Mounds Bar Sundae: Break the bars into smaller pieces and serve them over a scoop of your favorite ice cream. Add a drizzle of chocolate syrup or caramel for an extra indulgent touch.
- Frozen Delight: You can even freeze the bars and enjoy them as a cool, refreshing dessert on a hot day. The chocolate coating stays solid, and the coconut filling becomes slightly firmer—perfect for a summer treat!
4. Easy to Store for Later
- Storage Tip: Keep your Mounds Bars in an airtight container at room temperature for up to a week. If you want them to last longer, refrigerate them, and they’ll stay fresh for up to two weeks.
- Freeze for Later: If you want to enjoy them for a longer period, these bars freeze beautifully. Just wrap them in plastic wrap or parchment paper and place them in a freezer bag. When you’re ready to enjoy, simply let them thaw for a few minutes.
Conclusion: Why You’ll Love Mounds Bars
Now that you’ve made these mouthwatering Mounds Bars, it’s time to sit back, relax, and enjoy the fruits of your labor. The beauty of this recipe lies in its simplicity—just a handful of ingredients come together to create a treat that’s both indulgent and satisfying.
These homemade bars are perfect for satisfying your sweet tooth, impressing friends and family, or just enjoying as a little treat for yourself. What makes them even better is that you can customize them to fit any dietary preference, making them a versatile option for any occasion. Whether you stick to the classic version or experiment with some of the fun variations, you can be sure that your Mounds Bars will be a hit.
With a chewy coconut center, a smooth chocolate coating, and endless possibilities for creative twists, these bars are bound to become a staple in your dessert repertoire. Plus, they’re easy to store and keep for days, so you can enjoy them whenever the craving hits!

If you’re in the mood for more delicious desserts or meals to try, check out these tasty options:
- Strawberry Crunch Cheesecake Cones for a fun and fruity treat.
- Nachos Supreme Dinner for a savory, crowd-pleasing meal.
- Grama’s Corn Flake Peanut Butter Cookies for a nostalgic, crunchy dessert.
So, next time you’re looking for a quick, delicious dessert, don’t forget about these homemade Mounds Bars. They’re a simple, satisfying treat that brings the classic candy bar flavors right into your kitchen. Happy baking, and enjoy!
FAQs
1. Can I make Mounds Bars without an oven?
Yes, you can! If you prefer not to bake, you can skip the oven step and instead chill the coconut mixture in the fridge to help it set. Simply press the coconut mixture into a pan, then freeze it for about an hour until firm before topping with melted chocolate. This method creates a no-bake version of the bars that’s equally delicious!
2. How do I store my Mounds Bars?
To keep your bars fresh, store them in an airtight container at room temperature for up to a week. For longer storage, refrigerate them, where they’ll last up to two weeks. You can even freeze them for up to 3 months—just wrap them individually or in small portions for easy access!
3. Can I use shredded coconut or coconut flakes?
For the best texture, it’s recommended to use unsweetened shredded coconut in this recipe. Shredded coconut has a finer texture that blends well with the sweetened condensed milk. If you use coconut flakes, you may get a chunkier texture, but it will still work beautifully in the recipe.
4. How can I make Mounds Bars dairy-free or vegan?
Making these bars vegan-friendly is easy! Simply replace the sweetened condensed milk with coconut condensed milk (or a dairy-free sweetened condensed milk alternative). Also, opt for dairy-free chocolate chips to keep the recipe fully vegan.
5. Can I adjust the sweetness?
If you prefer less sweetness, you can use unsweetened coconut and reduce the amount of sweetened condensed milk. Additionally, using dark chocolate or sugar-free chocolate chips will help balance the sweetness while still providing that rich, chocolatey flavor.
6. How can I make my Mounds Bars more crunchy?
For a crunchier version, try adding chopped nuts such as almonds, cashews, or pecans either inside the coconut mixture or as a topping on the melted chocolate. It adds a satisfying texture contrast to the chewy coconut filling.
7. How do I cut the bars neatly?
Once the chocolate has set, use a sharp knife to cut the bars into squares or rectangles. If you want clean edges, run the knife under warm water between cuts. This helps prevent the chocolate from cracking and ensures a smooth, even finish.
Print
Mounds Bars
- Total Time: 40 minutes
- Yield: 12 1x
Description
Indulge in homemade Mounds Bars with a perfect blend of coconut and chocolate. Easy to make, delicious, and perfect for satisfying your sweet cravings!
Ingredients
- 1 cup shredded coconut
- 1 cup sweetened condensed milk
- 1 cup chocolate chips
Instructions
- Preheat the oven to 350°F (175°C).
- In a mixing bowl, combine the shredded coconut and sweetened condensed milk. Stir until well mixed.
- Press the coconut mixture evenly into a greased or parchment-lined baking dish.
- Bake in the preheated oven for 20-25 minutes or until the top turns golden brown. Keep an eye on it!
- While the coconut mixture bakes, melt the chocolate chips in a microwave-safe bowl in 30-second intervals or over a double boiler until smooth.
- Once the coconut layer has cooled slightly, pour the melted chocolate over the top and spread evenly with a spatula.
- Allow the bars to cool and set completely at room temperature, or refrigerate for 30 minutes for faster setting.
- Cut into squares or bars once the chocolate has hardened, and enjoy!
Notes
Nutrition Information (per serving)
Calories: 210
Fat: 15g
Saturated Fat: 12g
Carbohydrates: 22g
Fiber: 2g
Sugar: 19g
Protein: 2g
Cholesterol: 5mg
Sodium: 25mg
Calcium: 10mg
Iron: 1mg
- Prep Time: 15 minutes
- Cook Time: 25 minutes
- Category: Dessert
- Cuisine: American
Nutrition
- Calories: 210
Keywords: Mounds Bars


3 thoughts on “Mounds Bars Bliss: Irresistible Homemade Delight!”