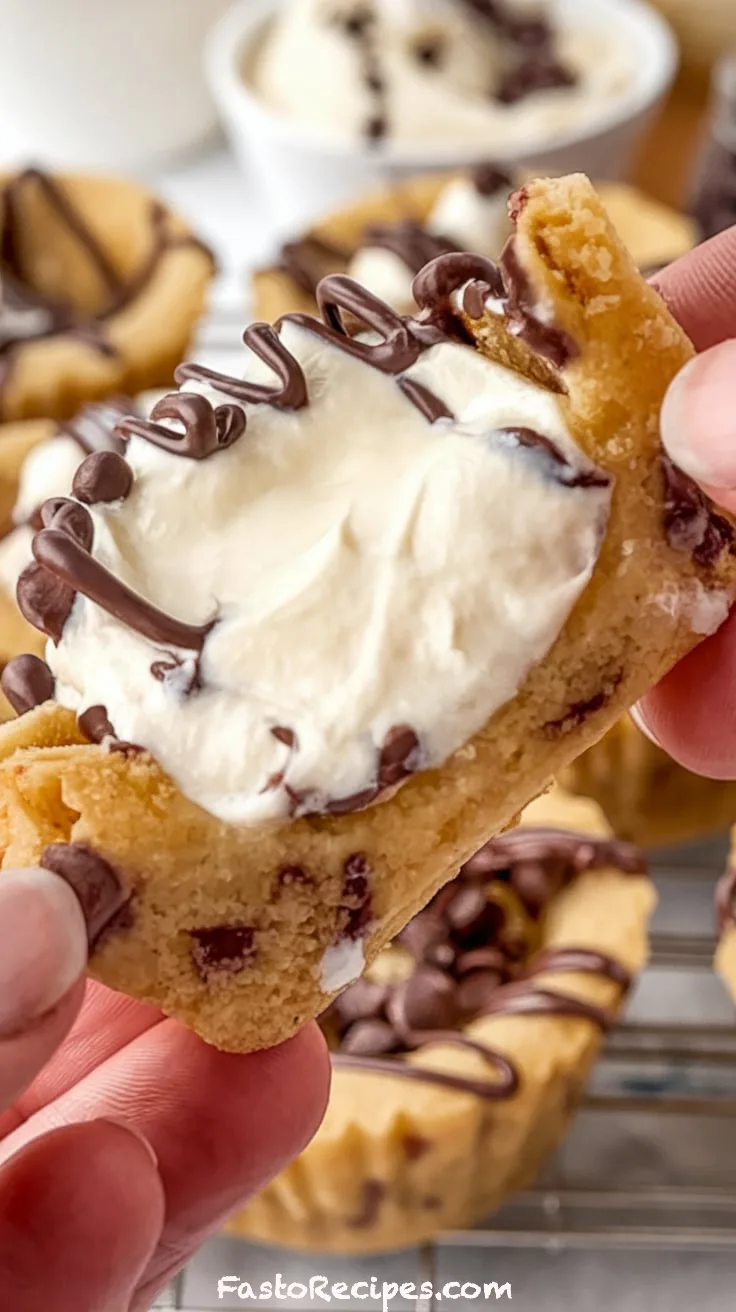
Have you ever craved the rich, creamy goodness of a classic Italian cannoli but wanted something a little easier — and maybe even more fun — to make? That’s where these Cannoli Cookie Cups come in! They take everything you love about traditional cannoli — the sweet ricotta filling, the hint of orange zest, and those irresistible mini chocolate chips — and tuck them into a soft, cinnamon-kissed cookie cup.
Perfectly bite-sized and packed with flavor, these homemade cookie cups are ideal for parties, holiday gatherings, or when you just want to treat yourself to something special. Plus, they’re easier to make than you’d think! Ready to wow your taste buds? Let’s dive in!

Table of Contents
Key Benefits of Cannoli Cookie Cups
Why will you absolutely love these Cannoli Cookie Cups? Let me count the ways!
- A Fun Twist on a Classic: These bite-sized treats take the beloved flavors of traditional Italian cannoli — sweet ricotta filling, mascarpone, and mini chocolate chips — and give them a playful cookie makeover.
- Perfect for Any Occasion: Whether you’re hosting a holiday party, attending a potluck, or just craving a homemade dessert, these mini cookie cups steal the show. Their adorable size and decadent taste make them an instant hit.
- Easy to Make: You don’t need any fancy baking skills here! The simple cookie dough comes together in minutes, and the creamy filling is a no-bake wonder.
- Customizable and Fun: Want to add a twist? Swap chocolate chips for chopped pistachios, candied fruit, or a drizzle of caramel. You can get creative and make them your own.
- Great Make-Ahead Dessert: Both the cookie cups and filling can be prepped ahead of time, making your life easier when you’re ready to serve.
Ready to whip up a batch of these crowd-pleasers? Let’s keep going!
Ingredients You’ll Need
Before we dive into baking, let’s get everything prepped! These Cannoli Cookie Cups use simple, easy-to-find ingredients — but when combined, they create pure magic.
For the Cookie Cups:
- 1 1/2 cups all-purpose flour – The base of our soft, sturdy cookie cups.
- 1/2 teaspoon baking powder – Helps the dough rise just enough without losing its shape.
- 1/4 teaspoon salt – Balances out the sweetness and enhances flavor.
- 1/2 cup unsalted butter, softened – Brings richness and that perfect cookie texture.
- 3/4 cup granulated sugar – Sweetens and gives the cookie cups a slight crispness.
- 1 large egg – Adds structure and moisture.
- 1 teaspoon vanilla extract – A warm, aromatic base note for the cookie dough.
- 1/2 teaspoon cinnamon – A subtle spice that pairs beautifully with the sweet filling.
For the Cannoli Filling:
- 1 cup ricotta cheese, well-drained – The heart of any cannoli, creamy and lightly sweet.
- 1/2 cup mascarpone cheese – Adds a luxurious, velvety texture.
- 1/2 cup powdered sugar – Sweetens the filling without any graininess.
- 1 teaspoon vanilla extract – Rounds out the filling with a warm, fragrant touch.
- 1/2 teaspoon orange zest – A bright pop of citrus that elevates the flavors.
- 1/3 cup mini chocolate chips – Tiny bursts of sweetness and texture in every bite.
For Garnish:
- Extra mini chocolate chips – Because you can never have too much chocolate!
- Powdered sugar, for dusting – A light, pretty finish that adds just the right amount of sweetness.
Step-by-Step Instructions
Let’s bring these irresistible Cannoli Cookie Cups to life! Follow these simple steps, and you’ll have a batch of bite-sized perfection in no time.
1. Preheat and Prep:
- Preheat your oven to 350°F (175°C).
- Lightly grease a mini muffin tin or spray it with non-stick cooking spray to prevent sticking.
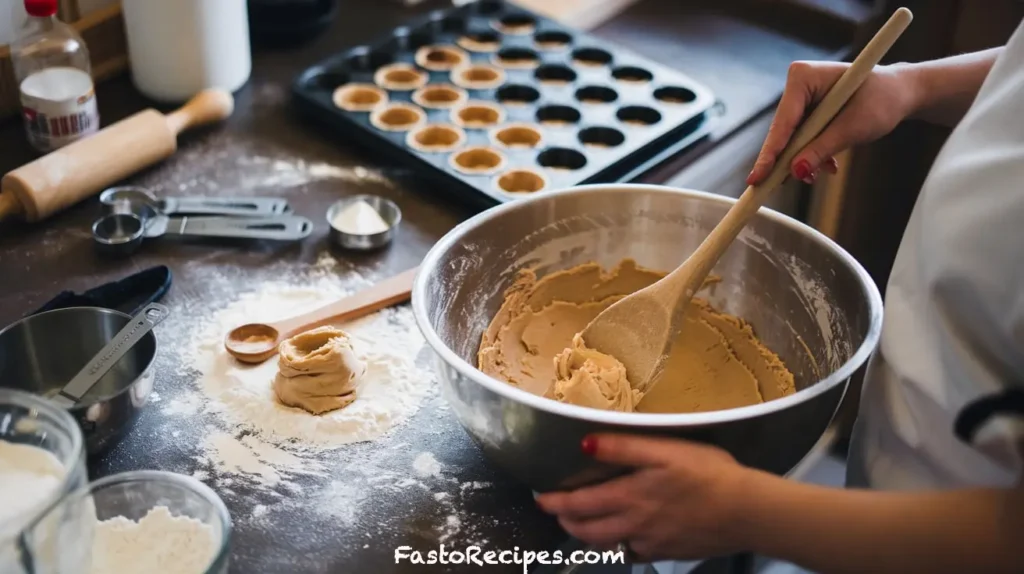
2. Make the Cookie Dough:
- In a medium bowl, whisk together the flour, baking powder, salt, and cinnamon. Set aside.
- In a large bowl, cream the softened butter and granulated sugar until light and fluffy — about 2-3 minutes with an electric mixer.
- Beat in the egg and vanilla extract until fully combined.
- Gradually add the dry ingredients to the wet mixture, mixing until a soft dough forms.
3. Form the Cookie Cups:
- Scoop about 1 tablespoon of dough into each mini muffin cup.
- Use your fingers or a small spoon to gently press the dough up the sides, creating a cup shape. (Tip: A floured thumb works great here!)
4. Bake and Cool:
- Bake for 10-12 minutes, or until the edges are golden brown and set.
- Let the cookie cups cool completely in the tin before carefully removing them. (A butter knife can help ease them out.)
5. Prepare the Cannoli Filling:
- In a large bowl, combine the drained ricotta, mascarpone cheese, powdered sugar, vanilla extract, and orange zest. Mix until smooth and creamy.
- Gently fold in the mini chocolate chips for that classic cannoli texture.
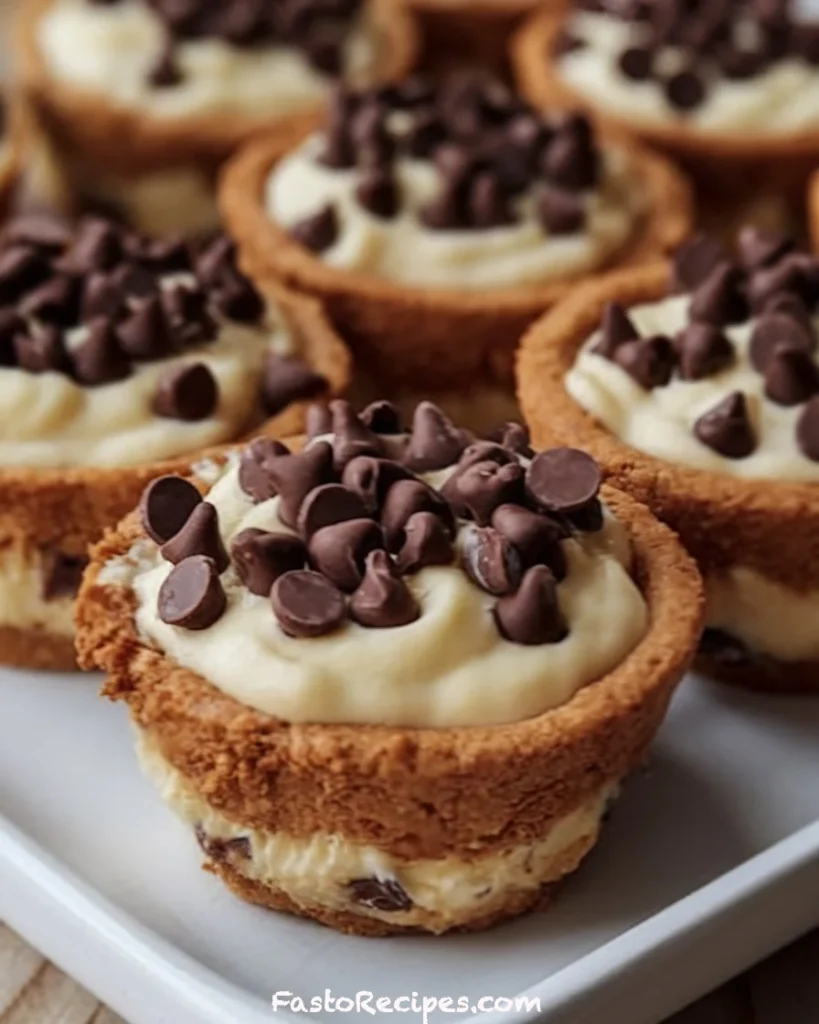
6. Fill the Cookie Cups:
- Spoon or pipe the cannoli filling into the cooled cookie cups. A piping bag with a wide tip makes this easy and neat.
- Garnish with a few extra mini chocolate chips and a light dusting of powdered sugar.
7. Serve and Enjoy:
- These Cannoli Cookie Cups are best served fresh and chilled, though they’ll stay delicious for 1-2 days in the fridge.
Pro Tip: If you’re prepping ahead, keep the cookie cups and filling separate until just before serving to maintain their perfect texture!
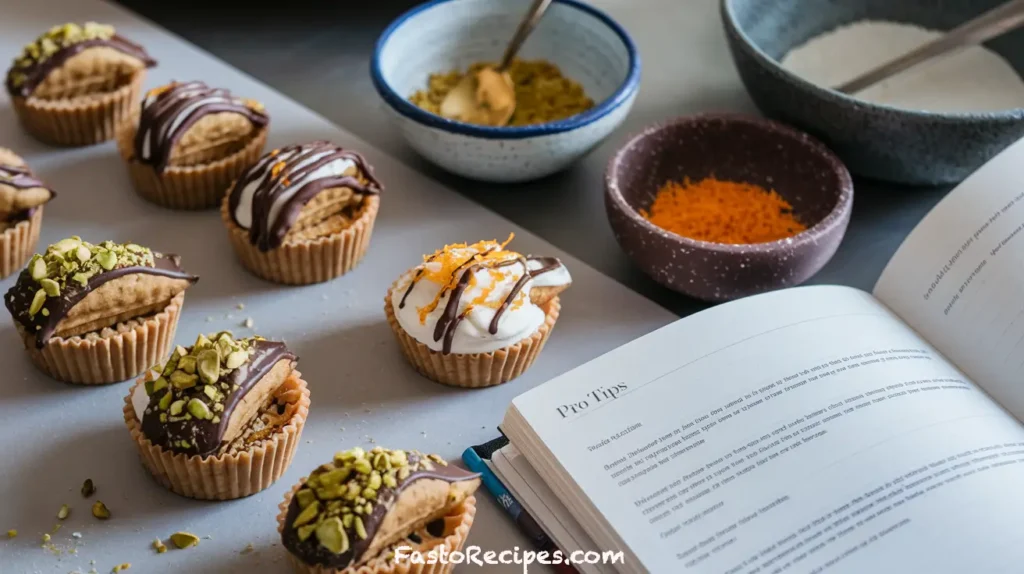
Pro Tips and Variations
Want to take your Cannoli Cookie Cups to the next level? Here are some expert tips and creative twists to make them even more irresistible!

Pro Tips for Perfect Cookie Cups:
- Drain the Ricotta Well: Too much moisture in the ricotta can lead to a runny filling. Let it drain in a fine-mesh sieve or cheesecloth for at least 30 minutes before using.
- Chill the Dough: If your dough feels sticky, chill it for 10-15 minutes before shaping the cups — this helps them hold their shape better while baking.
- Evenly Shaped Cups: Use the back of a teaspoon or a mini tart shaper to press the dough evenly into the muffin tin, creating perfect little wells for the filling.
- Let Them Cool Completely: Patience is key! Removing the cookie cups while warm can lead to breakage, so wait until they’re fully cooled before popping them out.
Fun Variations to Try:
- Add a Nutty Crunch: Sprinkle chopped pistachios or toasted almonds over the filling for added texture and flavor.
- Citrus Twist: Swap the orange zest for lemon zest or a splash of orange liqueur for a more intense citrus kick.
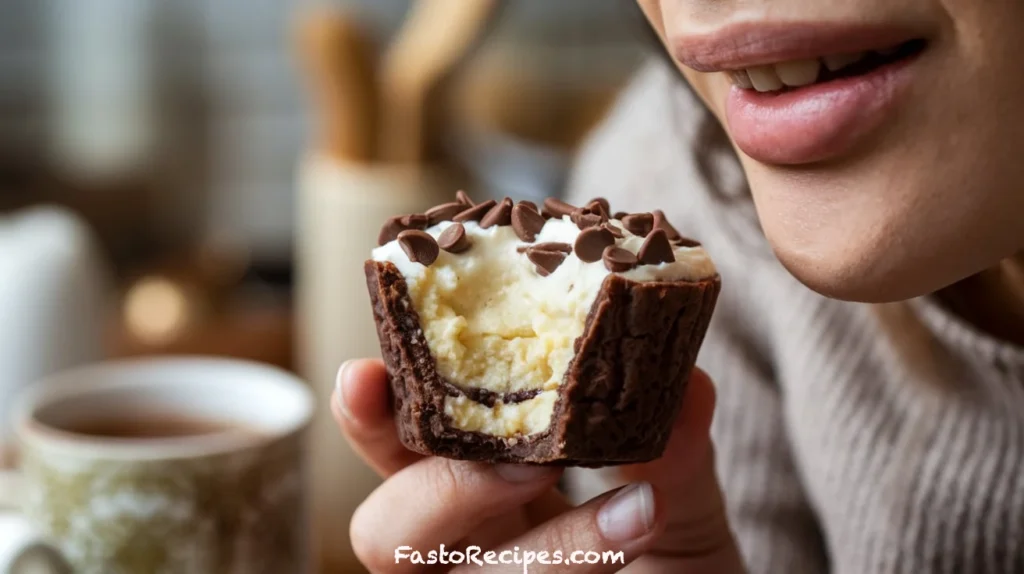
- Chocolate Lover’s Dream: Dip the cooled cookie cup edges in melted chocolate and let them set before adding the filling — it’s decadent and delicious!
- Fruity Delight: Top each cookie cup with a fresh raspberry, strawberry slice, or a candied cherry for a pop of color and sweetness.
- Flavor Boost: Add a pinch of espresso powder or a dash of cinnamon to the filling for a warm, spiced depth of flavor.
Make-Ahead Tip: You can prepare both the cookie cups and cannoli filling up to 2 days in advance. Store the cups in an airtight container at room temperature and the filling in the fridge, then assemble just before serving to keep everything fresh and crisp.
Get creative and make these Cannoli Cookie Cups your own — there’s no wrong way to enjoy this deliciously fun dessert!
Serving Suggestions
Now that you’ve made your delicious Cannoli Cookie Cups, it’s time to serve and enjoy them! These little beauties are perfect for any occasion, from casual gatherings to festive celebrations. Here are some serving ideas to make them even more irresistible:
1. Perfect for Parties:
- These mini cookie cups are bite-sized and easy to share, making them ideal for holiday parties, potlucks, or any casual get-together.
- Serve them on a large platter alongside other small desserts like mini cheesecakes, brownie bites, or fruit tarts for a fun dessert spread that will impress your guests!
2. Make Them a Special Treat:
- Serve your Cannoli Cookie Cups with a scoop of vanilla ice cream or whipped cream on the side for an extra indulgence.
- For an even fancier twist, drizzle them with a little chocolate sauce or caramel syrup.
3. Pair with Coffee or Tea:
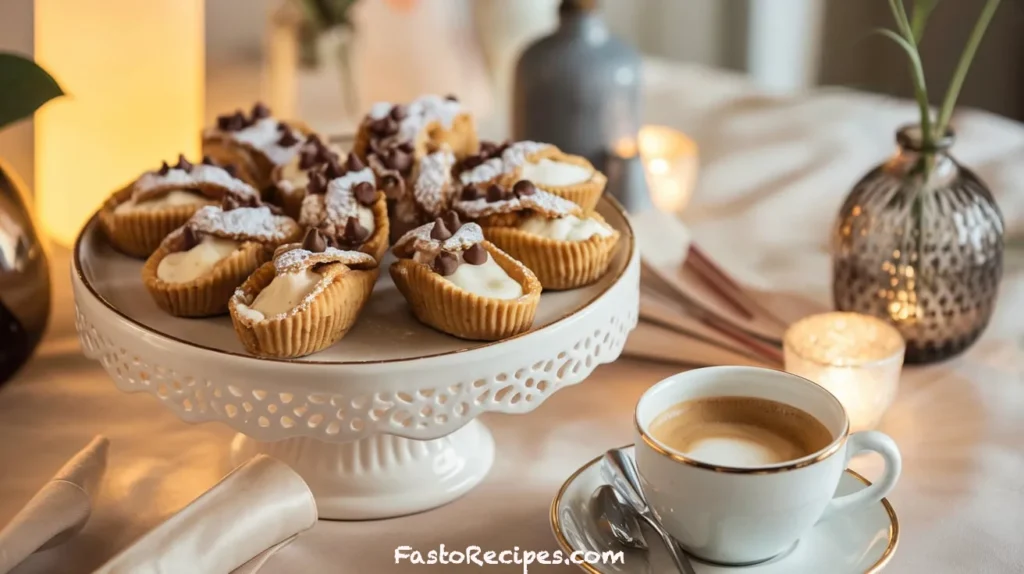
- These cookie cups are the perfect pairing for a cup of espresso, latte, or even a chilled glass of iced tea. The rich, creamy filling balances wonderfully with the warmth and bitterness of coffee.
- For a more elevated presentation, place the cookie cups in individual dessert cups or small glass jars to serve them as cute, portable treats.
4. Ideal for Holiday Gatherings:
- Make them a staple for your next Christmas, Easter, or Thanksgiving dessert table. They’re versatile enough to match any theme or occasion.
- Add a sprinkle of colored sugar or festive sprinkles to the tops for a seasonal pop of color!
5. Easy to Gift:
- Want to spread the love? These Cannoli Cookie Cups make a thoughtful gift for friends or family. Package them in a cute gift box or a clear plastic container, and tie them with a ribbon for a homemade treat that’s sure to bring smiles.
Conclusion
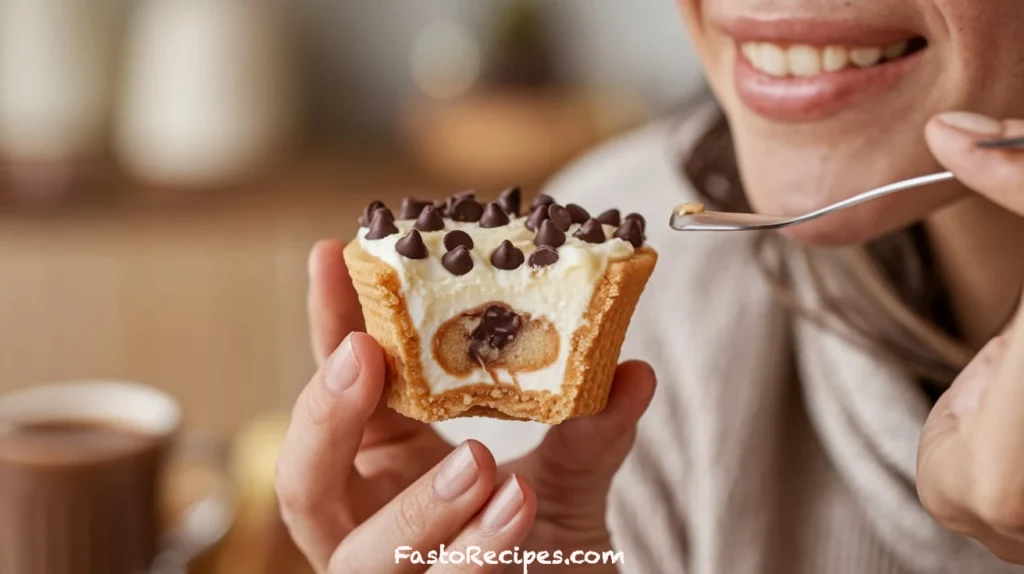
If you’re looking for a dessert that combines classic flavors with a fun, modern twist, these Cannoli Cookie Cups are sure to hit the mark! They bring together the best of both worlds — the beloved taste of a traditional cannoli and the ease of a bite-sized, cookie-based treat.
The creamy ricotta filling, paired with the cinnamon-kissed cookie cups and a sprinkle of mini chocolate chips, creates a perfect balance of textures and flavors that’s sure to impress anyone who tries them. Whether you’re treating yourself or sharing with friends and family, these cookie cups are a sweet little indulgence that never disappoints.
Ready to give them a try? I’m confident these will become a new favorite in your dessert rotation. Don’t forget to get creative with variations and toppings to make them truly your own! And most importantly, enjoy every delicious bite.
If you’re craving more easy, indulgent treats, be sure to check out our No-Bake Mini Banana Cream Pies here, or for a chocolate lover’s dream, don’t miss these Gooey Chocolate Peanut Butter Cupcakes here. And if you’re in the mood for something classic and comforting, why not try our Cherry Pie recipe here?
Happy baking — and even happier eating!
FAQs
1. Can I make the cookie cups ahead of time?
Absolutely! You can prepare the cookie cups in advance and store them in an airtight container at room temperature for up to 2 days. Just make sure to let them cool completely before storing. The cannoli filling, however, is best made closer to serving time to keep it fresh and creamy.
2. How do I store the Cannoli Cookie Cups?
Once assembled, you can store the Cannoli Cookie Cups in the fridge for up to 2 days. Just be sure to keep them covered to prevent the cookies from getting soggy. You can also store the filling separately in the fridge and assemble them just before serving for the best texture.
3. Can I use a different filling for the cookie cups?
Of course! While the classic cannoli filling is delicious, you can definitely get creative. Try using a chocolate mousse, lemon curd, or even a vanilla cream filling if you’re looking to switch things up.
4. What can I use instead of mascarpone cheese?
If you’re not able to find mascarpone, you can substitute it with cream cheese or whipped heavy cream. While mascarpone gives a rich, creamy texture, these alternatives will still provide a smooth and delicious filling.
5. Can I freeze the cookie cups?
Yes! You can freeze the baked cookie cups without the filling. Simply place them in an airtight container or ziplock bag and store them in the freezer for up to 1 month. When you’re ready to enjoy them, thaw at room temperature, fill with the fresh cannoli mixture, and garnish.
6. How can I make these gluten-free?
To make these Cannoli Cookie Cups gluten-free, simply swap the all-purpose flour with a gluten-free flour blend that is designed for baking. Ensure the flour blend you use has a good balance of structure to hold the shape of the cups.
7. Can I make these larger or smaller?
Absolutely! If you prefer bigger cookies, you can use a standard muffin tin, though baking time may need to be adjusted. For smaller, bite-sized treats, you can use a mini muffin tin and follow the original baking time.
2 thoughts on “Cannoli Cookie Cups: The Irresistible Dessert You Need!”